Hi everyone,
It is Monday again and that means a new challenge at
Simon Says Stamp and Show. This weeks challenge is to show your favorite technique in your project. I have too many favorites techniques... So it was hard to pick only one. But I've managed to pick a perfect technique, Perfect Distress by Tim Holtz. It's so amazing when the ink starts to wick underneath the perfect pearls!


This challenge is a great opportunity to show you how I've made this tag. So let's see what I've done!

As base for the background I've distressed the tag with light distress colors. It is very important that the tag is completely dry for the next steps. In order to be sure, heat set it.


By accident I noticed that when you put VersaMark on the stamp first and then Distress Ink, you'll get a better print. Although it has a side effect for this technique. I'll get to that later.


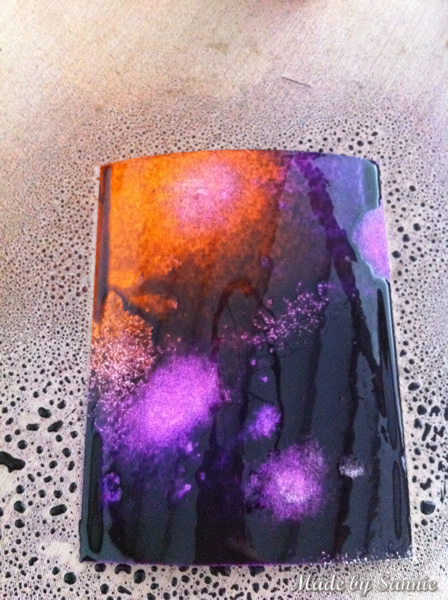
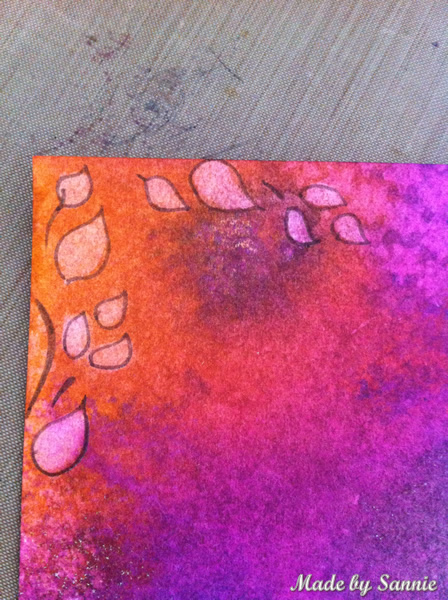
Quickly cover the stamped surface with Perfect Pearls with a small soft brush. Once you have covered everthing, pound lightly over it with a bigger soft brush so the Perfect Pearls will stick better. Brush the excess Perfect Pearls off.


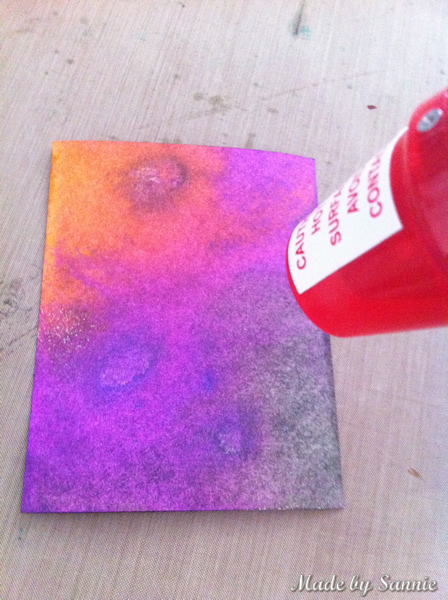
Mist some water on the tag and see what happens! Dry the tag with a heat tool. It runs even nicer when you do not use the VersaMark trick. The versamark holds the distress ink slightly in place.

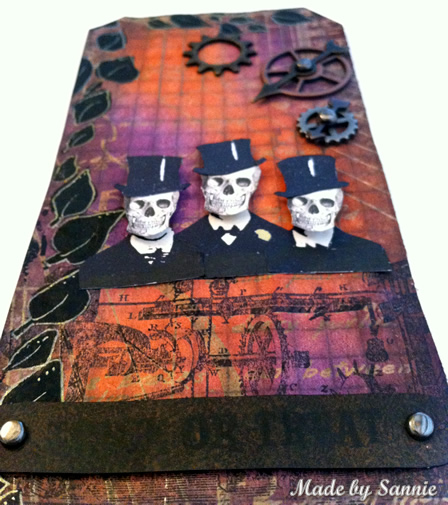
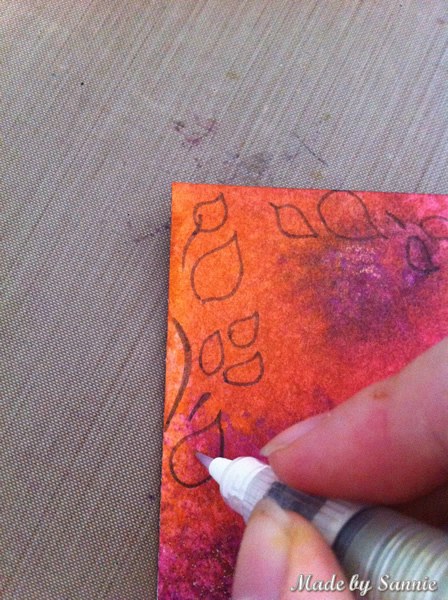
Distress the tag with some distress ink. I often use sponges when I want to make some stains. When making the stains some of the Perfect Pearls will come off, which adds to the distress look!


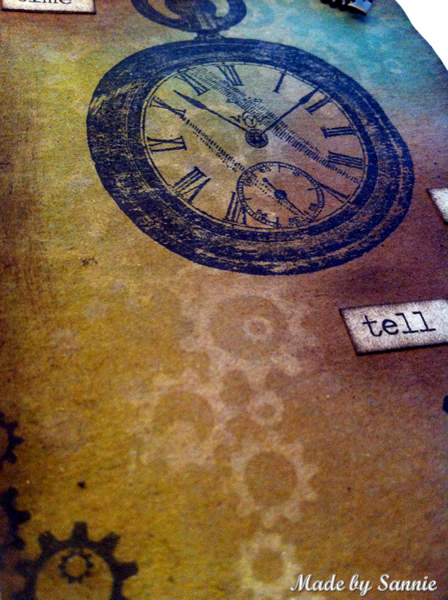
To stamp over the Perfect Pearls I used Archival Ink. It gives a very nice effect. To make the ink droplets, the screw cap off and tap with your finger on the top of the sprayer.


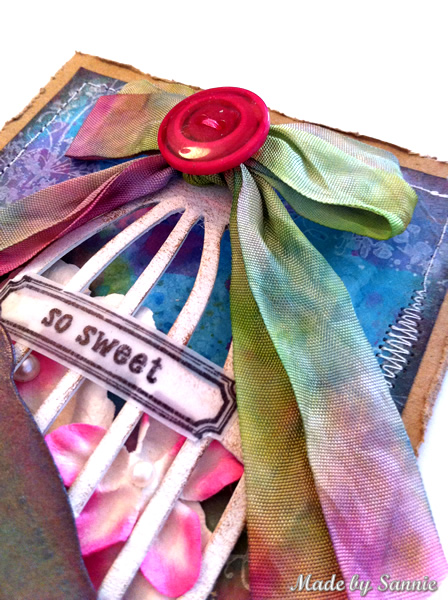
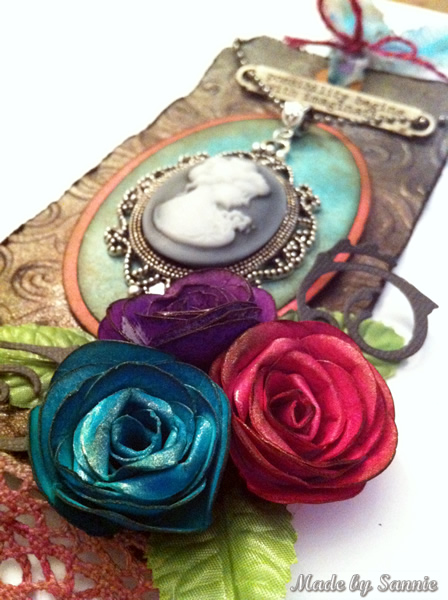
Mist the ribbon with some water, this makes beautiful color differences in the ribbon. To give the ribbon a metallic shine, mix Distress Stains with some Perfect Pearls. Wrinkle the ribbon into a little ball and heat set it. This keeps the wrinkles in the ribbon. Attach it to the tag.


To color the film ribbon, use Alcohol Inks and blending tool. You can give it multiple layers to make the color more intense. And attach it to the tag by using the Tiny Attacher.

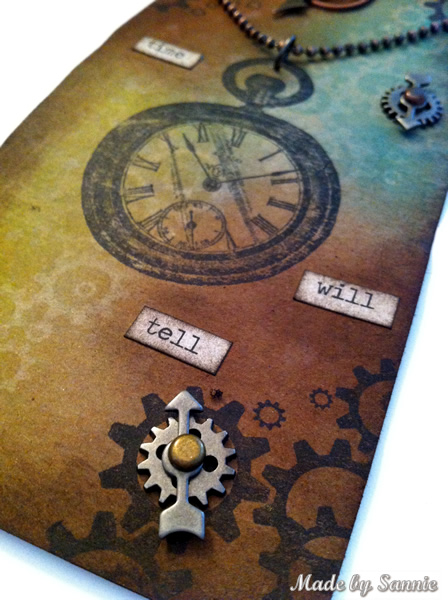
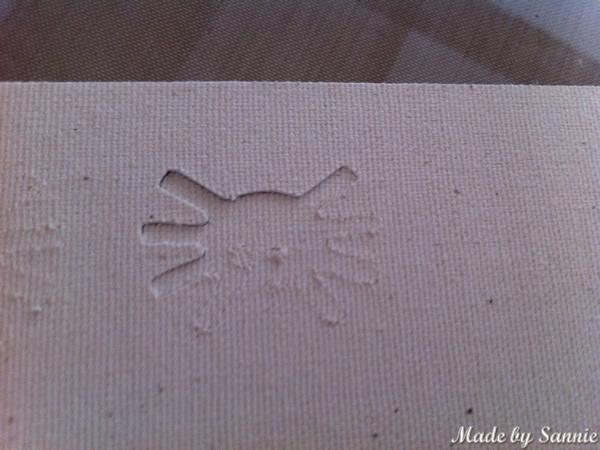
Attach the mini gears by using the Craft Pick, and for example, a foam surface.
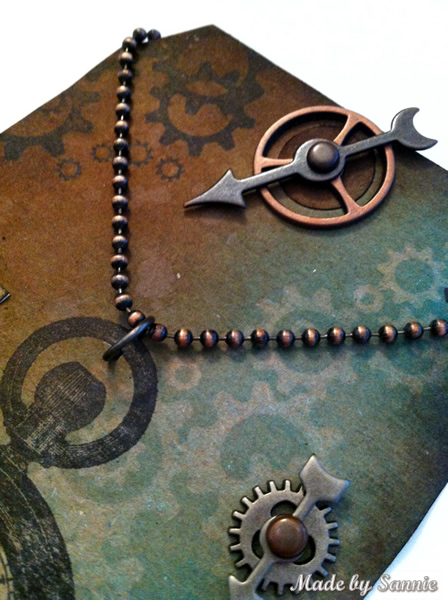
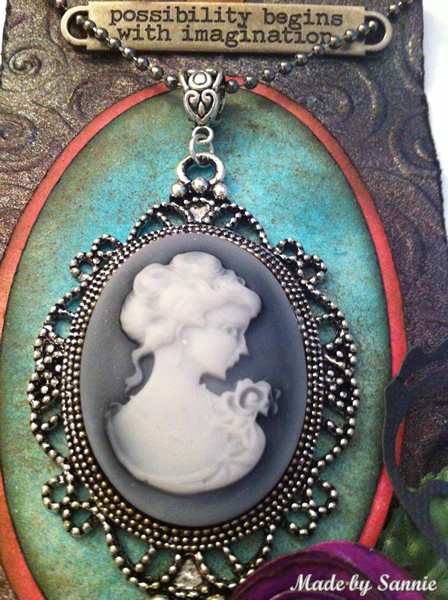
Add some more embellishments if you wish. And the tag is finished!
Hope you've enjoyed this little tutorial. If you have any questions about it, please let me know!

To join in all you need to do is make a project that fits this weeks challenge and you can be the winner of the $50 gift voucher that our amazing sponsor
Simon Says Stamp offers. This prize will go to a random entry. So go over to the
Stamp and Show Challenge blog, let the DT members inspire you and join in the fun!
Thank you for stopping by! Love to see you next time!
Hugs,
Sandra