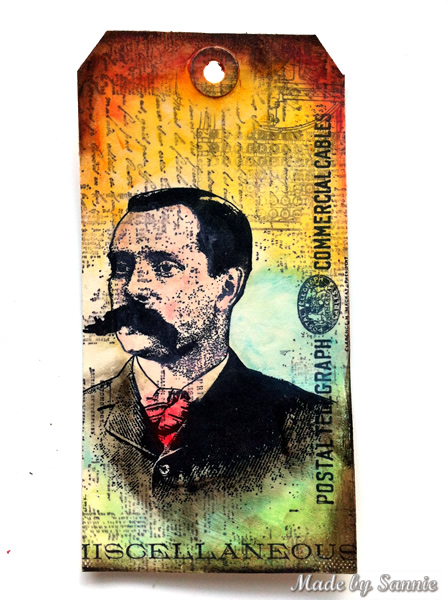
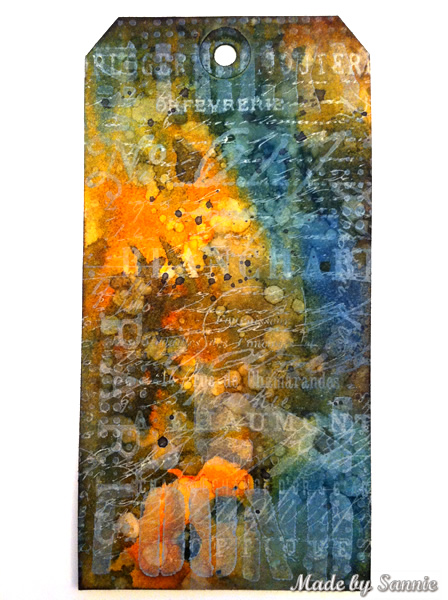
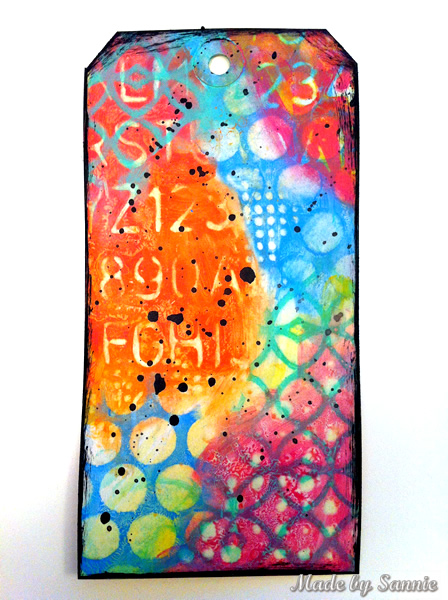
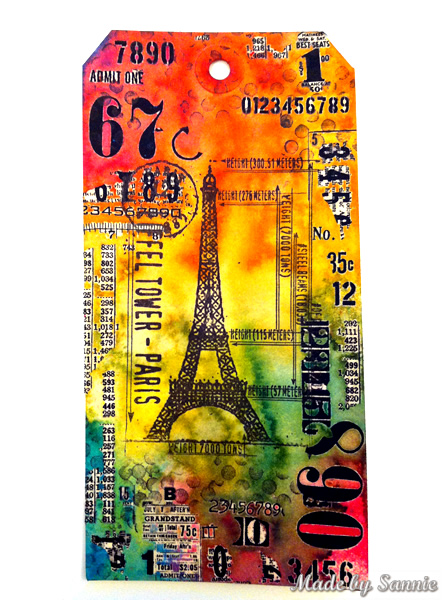
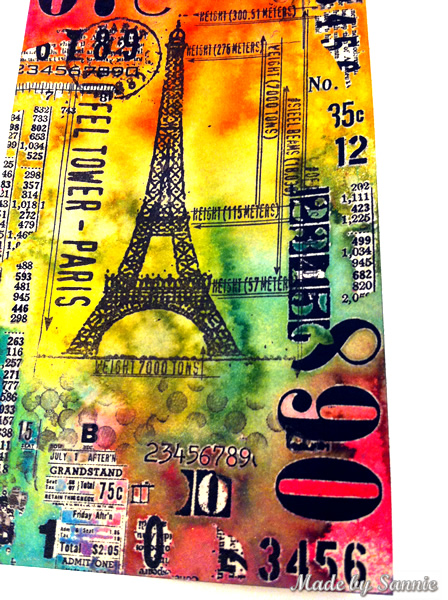
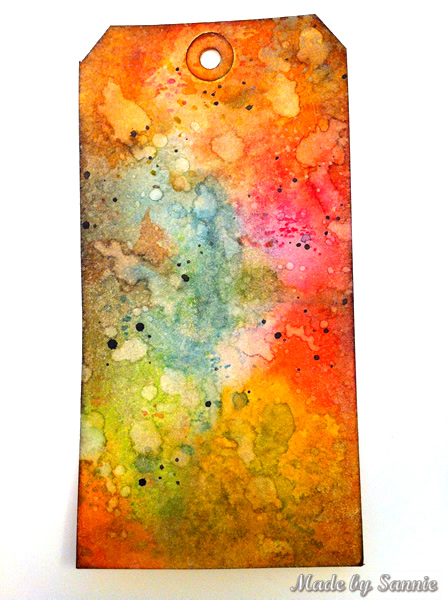
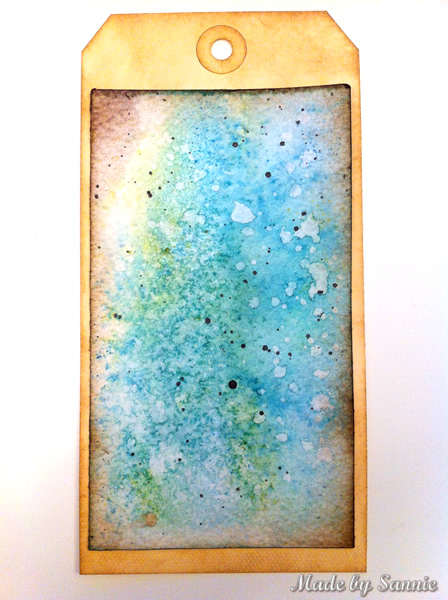
Grunge it up card

Click on the image and see how this was made. There is a video tutorial of the process.

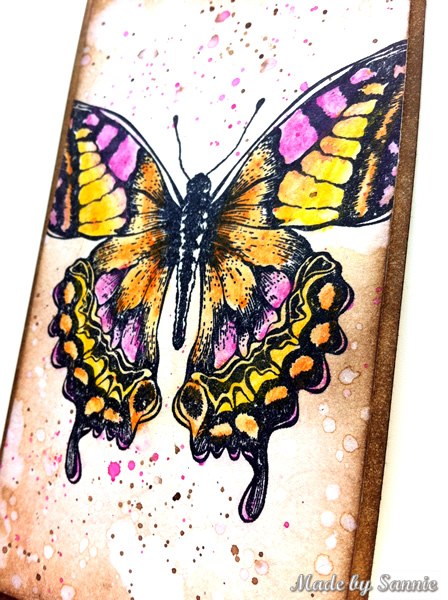
In My Garden card

Click on the image and see how this was made. There is a video tutorial of the process.

Timeless Treasure art journal spread

Click on the image and see how this was made. There is a video tutorial of the process.

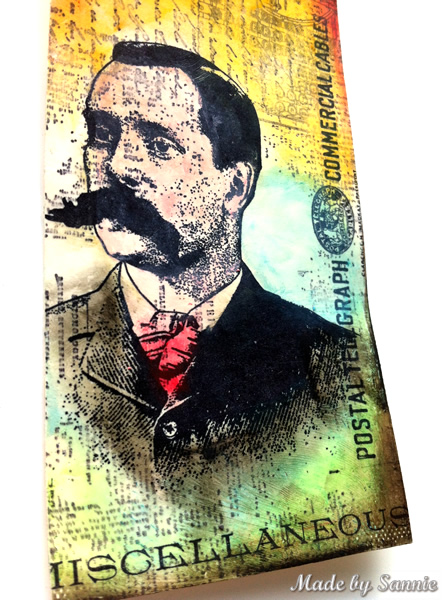
Father's day card

Click on the image and see how this was made. There is a video tutorial of the process.

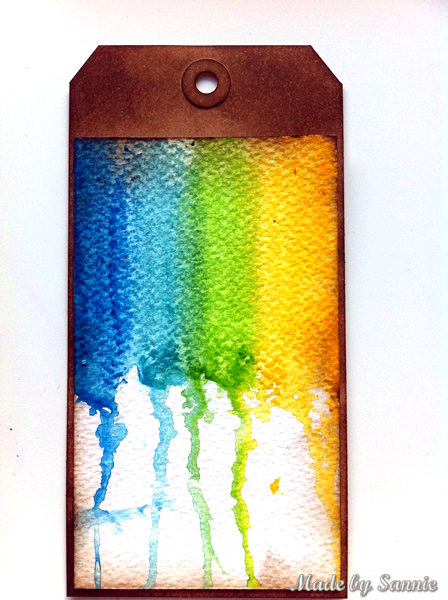
Distress it card

Click on the image and see how this was made. There is a video tutorial of the process.

Showing posts with label CC103. Show all posts

Thursday, August 11, 2016

CC103 - day 5

Hi everyone,

It's day five of Creative Chemistry 103 and we were again treated to as much as 6 Techniques! Unfortunately I didn't realise that only Yupo was used as a substrate, so I got some ordered at a local craft store, so that's why I'm a bit late. After some experimenting it apparently it isn't official Yupo (it's sold in a package without a brand on it), the results aren't as they should be. With the effects I get looks like it's between Glossy and the Yupo which sells Ranger. So now I've ordered the Ranger one, hopefully it will work better ...


The first technique: Alcohol Ink Stamped on Yupo Resist Technique. I couldn't get it to work, the paper doesn't do what it's suposed to do following Tim's instructions. If you look carefully you'll see a light ghosting. I've tried it  wiht several different Archival Inks, Jet Black, Watering Can, but saw no difference ...
 

The second technique: Alcohol Ink Faded Layers on Yupo Technique. In the picture the right side looks better than in real life. In real life it looks more like the left side...


The third technique: Alcohol Ink Texture Resist on Yupo Technique. This technique didn't work either. I think the ink can soak in better than it should.


The fourth technique: Alcohol Ink Painting on Yupo Technique. That technique was fun to do and it finally worked as it should. I took Kristina's example.


The fifth technique: Alcohol Ink Liquid Landscapes on Yupo Technique. This technique was nice, but it doesn't dry in the more hard lines as I'd like, but perhaps that is more a matter of practice.


The sixth technique: Alcohol Ink Splattered Floral Technique. I unfortunately have no canned air, and had to use a straw. I tried to make a flower, but that was a disaster. Therefor I made a colorful abstract background. Love it! 


Thank you for stopping by! Love to see you next time!

Hugs,
Sandra

Friday, August 5, 2016

CC103 - day 4

Hi everyone,

It's day three of Creative Chemistry 103 and this time we even got six new techniques. The pressure is on! LOL!

The first technique: Distress Crayon Smudge Technique. Wow! Have in the past done a little smudging with the Crayons, but not a complete background. Lots of fun to do and have cheated a little by also using some gray Gelato, because I have only set #1, which is very bright!


The second technique: Distress Crayon Gesso Fresco Technique. Super cool technique. I don't know if it was the Gesso, like Tim said, or that I haven't done it correctly. But I hardley noticed any difference between the areas with or without Gesso.


The third technique: Distress Crayon Textured Resist Technique. I had to wait for my Picket Fence Crayon to arrive, and I was in luck. It arrived today. Although I didn't get the result I expected. Especially with whiping the ink off.


The fourth technique: Distress Crayon Watercolor Resist Technique. Love this technique! I don't know if my crayons were completely dry or not, but it seemed that the Crayons did smudge a bit while blending with an ink blending tool. And no, I didn't cheated this time and only used Distress Crayons :)


The fifth technique: Distress Crayon Blended Background Technique. This technique is very basic, but very similar to the technique that I've done with my Gelatos on a Gessoed background.


The sixth technique: Distress Crayon Layered Coloring Technique. Really amazing technique. I needed to cheat a little more with a couple of Gelatos. The bright colors are too much... I haven't applied my medium coat of Crazing,because there were only a few little spots that had some crazing.


Thank you for stopping by! Love to see you next time!

Hugs,
Sandra

Thursday, August 4, 2016

CC103 - day 3

Hi everyone,

It's day three of Creative Chemistry 103 and the same as the previous days we got five new techniques. It's hard work keeping up with Tim! But it's lots of fun!

The first technique: Distress Layered Collage Technique. The collaging we did with the 12 tags, only not with Distress Crayons, but with Distress Markers I believe. Distress Collage Medium Matt is really amazing. If you don't presh as hard down as Tim shows, you still have some time to change and stick something underneath. I only have the bright colors of Distress Crayons and have therefore used Gelatos. Now I see really what the difference is between the two. Gelatos aren't as soft an creamy and don't react with water as Distress Crayons. I get it now, Tim!


The second technique: Texture Paste Coloring Technique. The combo with the ink and paint is really very cool. This one I want to use more often.


The third technique: Texture Paste Embossing Technique. Fun technique we know from the 12 tags. I thought my Texture Paste was dry, but apparently not ...


The fourth technique: Texture Paste Resist Technique. Another one we have done with 12 tags, but it's nice to see it in video with additional information, now it's with Picket Fence. I don't have it yet, so I used my regular white ink pad again. Also works, you just have to wipe the ink off the embossed areas.


The fifth technique: Distress Grit-Paste Grunge Technique. Unfortunately, I don't have the Grit-Paste yet, and had to be a bit creative. I have Texture Sand and have it mixed with Texture Paste, this gives it more the viscosity of the Grit-Paste (I think). Again, I see the difference between Gelatos and Distress Crayons. Gelatos are much harder and you have to put more effort to get into those little areas.


Thank you for stopping by! Love to see you next time!

Hugs,
Sandra
Wednesday, August 3, 2016

CC103 - day 2

Hi everyone,

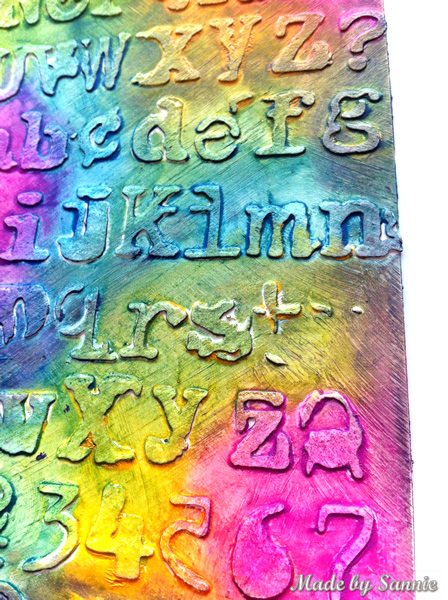
It's day two of Creative Chemistry 103 and we have been given 5 great techniques again. I'm having so much fun with this class!

The first technique: Paint Distress Resist Technique. For me this is not a new technique, just the way of  building the layers is new for me.


The second technique: Paint Distress Lifting Technique. I'm not sure if I've done this technique with paint or just with Gelatos. But it's a great technique.


The third technique: Distress Stain Rub Resist Technique. This one we have done before with 12 tags, but very fun to do again


The fourth technique: Distress Luminous Mica Technique. It was fun to do this technique again just with a different name.


The fifth technique: Distress Marker Spritzed Watercolor Technique. This is a completely new technique for me. It gives you kind of the effect of Brusho. I just absolutely don't have this one down, my version is terrible. Have tried it several times, but it didn't get any better. And my hand and forearm weren't up for the challenge anymore...


Thank you for stopping by! Love to see you next time!

Hugs,
Sandra
Tuesday, August 2, 2016

CC103 - day 1

Hi everyone,

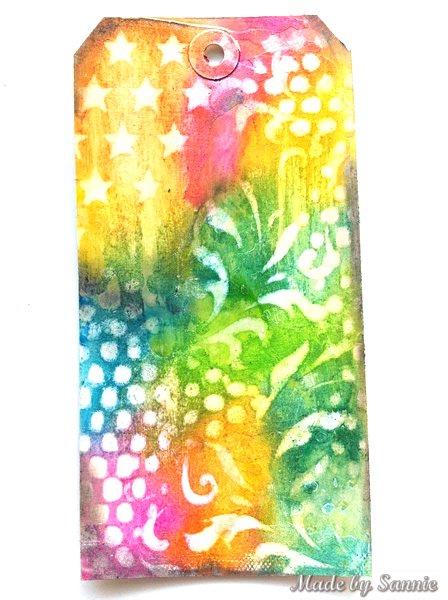
Yes, it's finally started! Creative Chemistry 103 has begun! What a great first day with 5 new techniques! Those with MicroGlaze are my new favorites.


The first technique is called: Distress DIY Ombre Technique. This technique Tim has already shared on his blog in the past, but fun to do again. I actually mainly used the DIY ink pad with stencils and not stamps.


The second technique is called: Distress Highlight Stamping Technique. Currently I don't have Picket Fence Distress Ink yet, so I'd to stamp with my normal white ink.


The third technique is called: Distress Off-Set Stamping Technique. It's so different to see this stamp colored in. Normally I use it for backgrounds.


The fourth technique is called: Distress Washed Watercolor Technique. This is my favorite of the 5. What a cool effect.


The fifth technique is called: Distress Micro Resist Technique Glaze. Tim's example was very stunning, I just need to practice some more, and this will also be a favorite too.


Thank you for stopping by! Love to see you next time!

Hugs,
Sandra