Grunge it up card

Click on the image and see how this was made. There is a video tutorial of the process.

In My Garden card

Click on the image and see how this was made. There is a video tutorial of the process.

Timeless Treasure art journal spread

Click on the image and see how this was made. There is a video tutorial of the process.

Father's day card

Click on the image and see how this was made. There is a video tutorial of the process.

Distress it card

Click on the image and see how this was made. There is a video tutorial of the process.

Showing posts with label storage. Show all posts

Saturday, December 31, 2011

Secret box - Grungy Monday 30

Hi everyone,

A while ago I got from the super kind Heather, her spare scorpal, because I had none. Thanks again so much, Heather! I'm so happy with it! Still can believe you just send it to me :)! hihi.
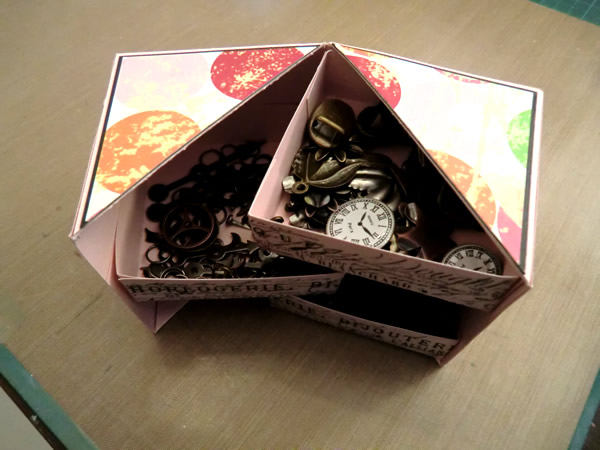
And now I finally have time to play with. I knew immediately what my first project would be! The secret box of Heather! It was quite a challenge for a first project, but with the clear instructions and the videos I was able to make one in my first try! I'm also joinging in with Grungy Monday #30. It's been a while since I've played along. It's not quite Tim Holtz grungy, but I find it grungy enough to join in :).
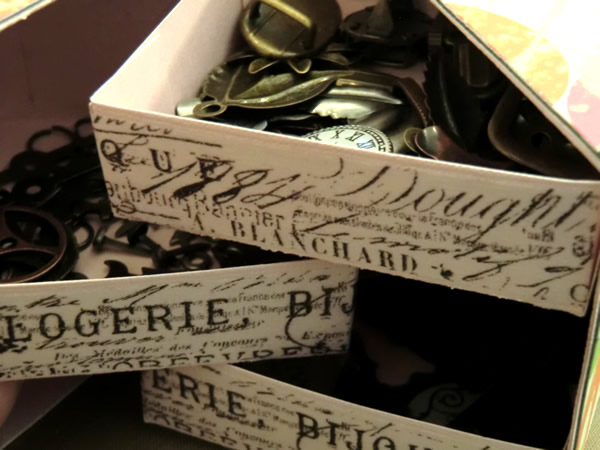
I've used tissue tape on the sides of the drawers. I filled the drawers with all kinds of grungy metal embellishments. The bottom tray is not very easy to access, so I put the larger embellishments in there, because they are easier to grab:). I'm so happy with my secret box!

The result:


The materials:
  • Scorboard
  • Card Stock: Bo Bunny and Bazzil
  • Glossy accents
  • Tissue Tape: Tim Holtz

Thank so much for stopping by!
Have a wonderful new year!!

Sandra
Wednesday, November 9, 2011

Simon says recycle

Hi everyone,

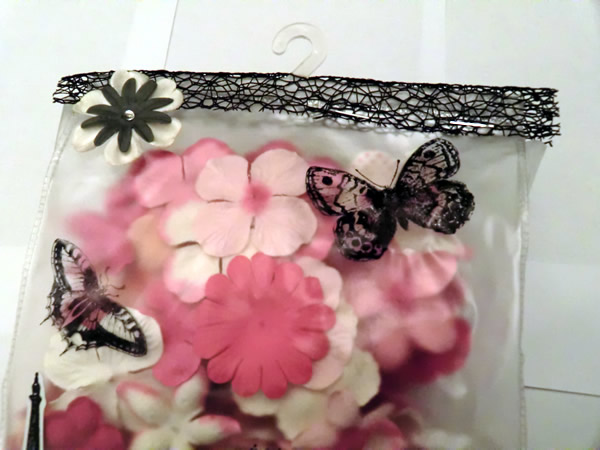
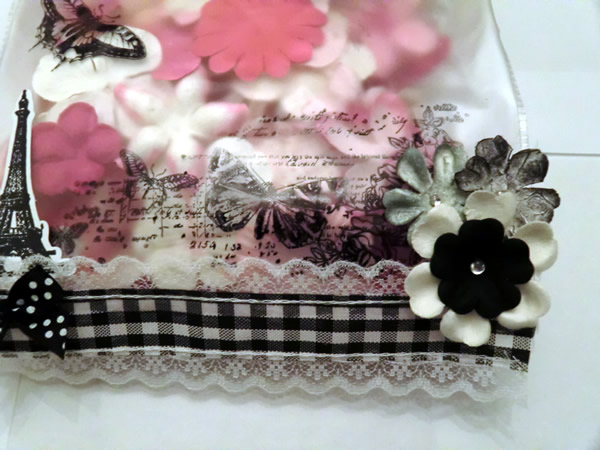
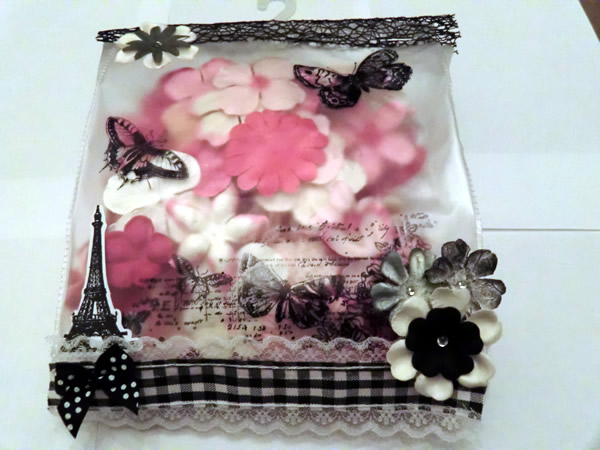
Since last monday when the challenge of Simon Says Stamp was announced, I've been thinking non-stop of what I wanted to do. I just couldn't think of anything. I decided that today was the day for this challenge, because all that thinking was driving me a bit crazy! Hmm, that's not the intention, I guess. So I searched through all kinds of packaging I had laying around, but still I didn't had any inspiration. Eventually I found a pack of baby bibs. I've always blank baby stuff in the house, so I can make a nice baby package, with the name of the baby on it. Finally I had inspiration! So I could get started!

And this is the result:


The materials:
 - StazOn Jet Black
 - Stamps: kaiser craft and excellent marketing
 - ribbon
 - Flowers: Prima Marketing
 - Rhinestones

I think StazOn is a very great waterproof ink. Especially for this mat plastic. I noticed that glossy accents couldn't handle this kind of plastic...

Sandra

Sunday, November 6, 2011

Foam board cabinets

Hi everyone!

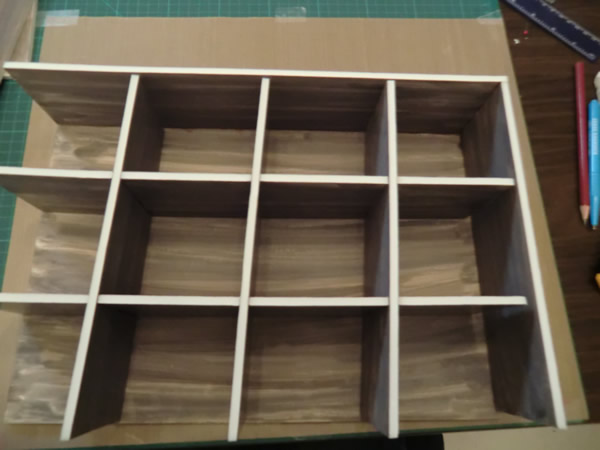
Some time ago I visit the site paper-castle.com  and I saw a lot of great tutorials. Then I saw a really cool foam board cabinet. I didn't realize that Heather made the cabinet herself, I thought the post was about the drawers... duhhh. But a few days later she posted the tutorial for it. And I immediately went to work. But unfortunately I'm always fighting with my glue gun. It leaks like crazy, and the glue dries too quickly before I have put things together. Such a drama. Eventually it looked alright, but it was certainly not perfect. After some tips from Heather, I gave it another go. This one is a bit more successful then the first one, but I still fought with my glue gun!
Here is a short description of the project. With emphasis on short, because the extensive tutorial can be found on the website of paper-castle.com!

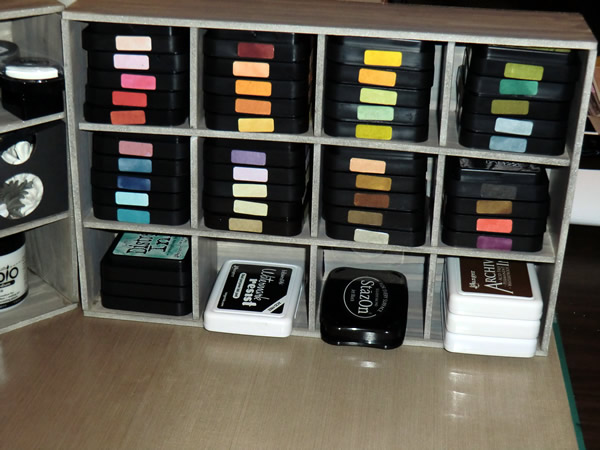
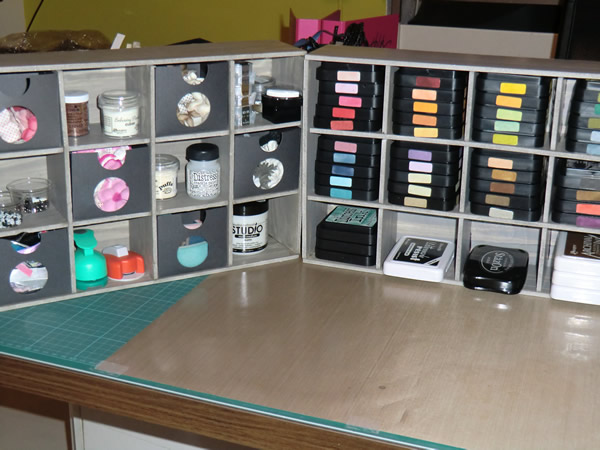
I wanted to have a cabinet for my distress inkpads (DI). In the past I made a box for my DI, but back then I had only 12. And since I've bought all the distress inks including the limited edition (s), now is the moment to make something for storage. And I chose this fabulous foam board cabinet.

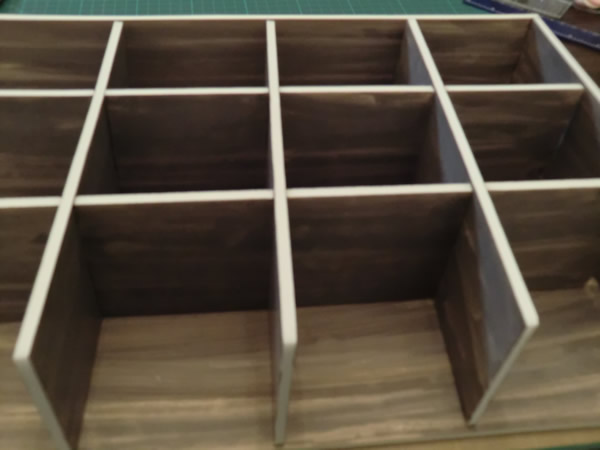
First I determined the size of the compartments. I used Adobe Illustrator to process these sizes and  taken into account the thickness of the foam board. In scale, I made all the parts and fortunately they all fit on a 50 x 70 cm piece of foam board. Then I determined the indentations. I used Illustrator for this part as well. I'm not a mathematician;).
Then I cut everything out. I think I have an other type of foam board then Heather, because I easily cut through it in one single cut. The blade does go dull after a little while. After everything was cut out, it was time for a bit of color. Here the distress stains walnut stain came in handy. For backgrounds the stains are incredible. I did also the edges with stains, but they stay wet for a very long time. Probably because foam isn't porous. I did it also on the second cabinet, because it looks so nice. I have to be carefull with handeling it for a while.


Then it was time to assemble it. I took my best friend (not!!) the glue gun,  and I managed to glue the edges together in time before the glue was dry, but that didn't work with the backside of the cabinet :(.I do have a very cheap glue gun, so that maybe has something to do with it. Luckily I also put multi medium on the edges of the dividers.


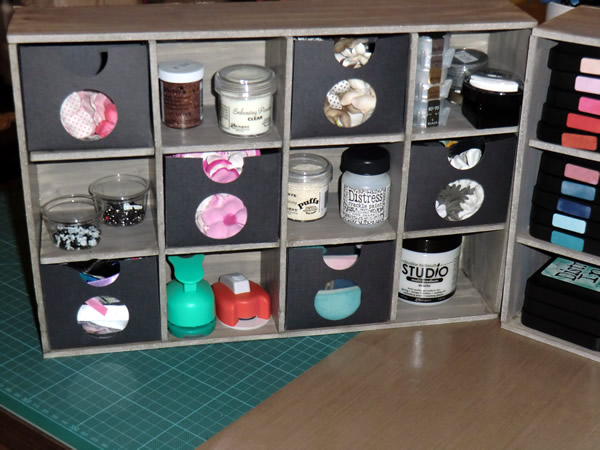
Now that I have two cabinets, I decided to use one for embellishments. I made drawers with a peephole in it. I kept them very simple. Maybe in the future I'll pimp them up.

Thanks for stopping by.

Sandra

Saturday, October 1, 2011

Storage box for sponges (or blending pads)

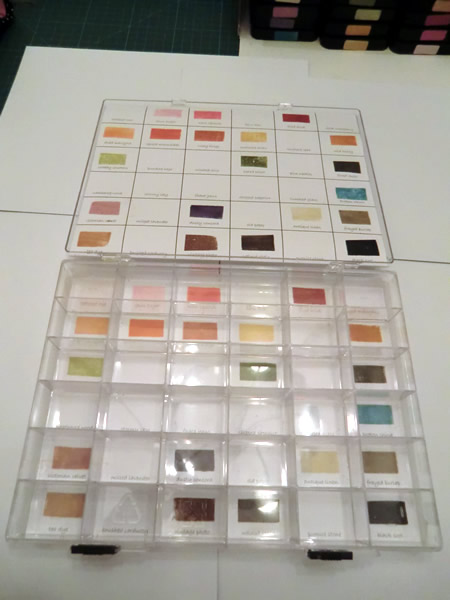
A friend of mine came up with an ingenious idea to store the sponges that I use as a blending tool for distress ink. Namely, a storage box with 36 compartments for beads. I wanted to share that idea with you! I find it so very useful!

I had the sponges in a box and on top of each sponge I put the initials of the color, but I was still searching for the right color when I needed one. And that's when she came up with the idea to use the storage box for the sponges. Earlier I gave her another storage box for the drops of the distress re-inkers. She asked me if I were sure and couldn't use it myself. But I had 2 more left, so everybody was happy!

To finish the storage box of I made a color chart with the names of all the colors (including the colors I don't yet have). I used a piece of foam as a stamp, and stamped each color at the corresponding color. I stuck it on the bottom. I made another color chart and put it on the inside of the lid.


I hope you find it as useful as i do.
Sandra

UPDATE (16-10-2011): A full storage box, now I have al the distress inkpads :D!

Thursday, September 15, 2011

Distress ink box

Hello!
On the blog from France: http://papillon-sur-la-branche.blogspot.com/ I saw a very nice upstanding storage box with doors for distress inkpads. How cool?!
But then I saw the distress ink box (at the bottom of the page) and for me it was a bit more practical. Besides I don’t know where I can get the hinges and closure for the upstanding storing box with doors. I have searched the internet, but I can’t find anything. So last night I set to work to make my version of it.
Below is the result of my ink-storage case:
       
It's not quite ready. I also want to decorate the inside and stick lots of fun stuff on it. I've to make another one and if I'm buying all inkpads then two. On the blog where I got the idea from, you can also do workshops, but I think it is in the French part of Belgium. Unfortunately not an option for me. Because I can use some lessons:). Oh well,  practice makes perfect ;).
Sandra