Hi everyone,
It's been almost a week since I've posted a message! Sorry about that! Time flies! Last weekend was my birthday and I was so busy with organizing and stuff, that I didn't had the time to spend time in my craft room. Yesterday I wanted to make the bracelet, but I was so tired that I enjoyed the evening in front of my television laying on the couch. I needed that.
Well now to continue with my creation. A grunge paper bracelet. I'm entering this bracelet for Grungy Monday 33 and Simon Says Stamp and Show. For Grungy Monday we had to use the technique that Tim has done in August 2008 contest on his blog. And for Simon Says Stamp and Show we had to make something other than a card.


I've kept it pretty simple. First I cut the Grunge Paper to the right size (2.5 x 20 cm). Then I embossed with the swirls embossing folder. After that I painted it with paint dabber on both sides. After it was dry I sanded it with sandpaper. Then I applied alcohol ink on the film strip. When it was completely dry I did the technique that Tim used in the challenge. This time it went very well. I'm getting better at this technique. Unfortunately it is almost covered by the embellishments. I have not really thought it true at the beginning ... You can see some of it in the second photo. I did not know what to put behind the film strip, but found ribbon I used the last time a good idea. So I grabbed white ribbon and colored it with distress stains. Then I made the holes and put the embellishments and the press stud last.
The materials used for the grunge paper bracelet.
Thanks for stopping by. Till next time!
Sandra
It's been almost a week since I've posted a message! Sorry about that! Time flies! Last weekend was my birthday and I was so busy with organizing and stuff, that I didn't had the time to spend time in my craft room. Yesterday I wanted to make the bracelet, but I was so tired that I enjoyed the evening in front of my television laying on the couch. I needed that.
Well now to continue with my creation. A grunge paper bracelet. I'm entering this bracelet for Grungy Monday 33 and Simon Says Stamp and Show. For Grungy Monday we had to use the technique that Tim has done in August 2008 contest on his blog. And for Simon Says Stamp and Show we had to make something other than a card.
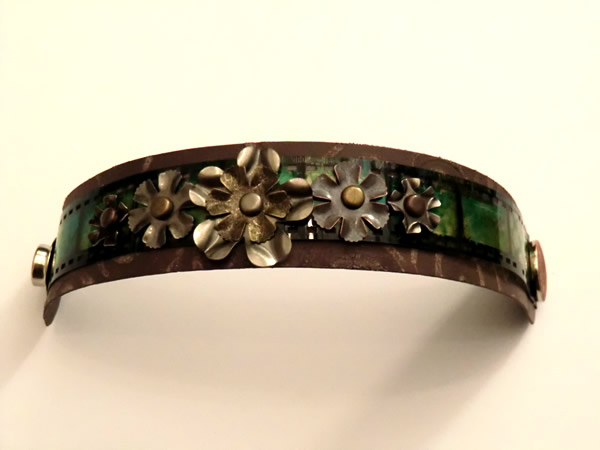
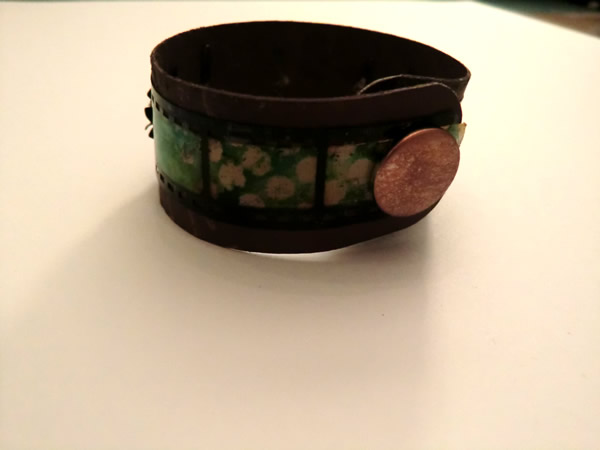
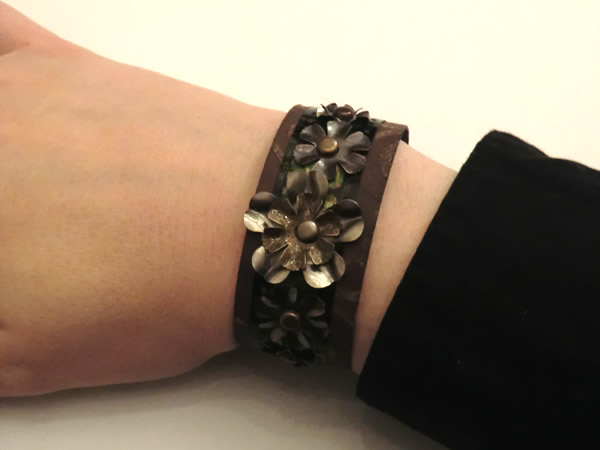
I've kept it pretty simple. First I cut the Grunge Paper to the right size (2.5 x 20 cm). Then I embossed with the swirls embossing folder. After that I painted it with paint dabber on both sides. After it was dry I sanded it with sandpaper. Then I applied alcohol ink on the film strip. When it was completely dry I did the technique that Tim used in the challenge. This time it went very well. I'm getting better at this technique. Unfortunately it is almost covered by the embellishments. I have not really thought it true at the beginning ... You can see some of it in the second photo. I did not know what to put behind the film strip, but found ribbon I used the last time a good idea. So I grabbed white ribbon and colored it with distress stains. Then I made the holes and put the embellishments and the press stud last.
The materials used for the grunge paper bracelet.
 |  |  |  |  |
 |  |  |  |  |
 |  |  |  |  |
 |  |
Thanks for stopping by. Till next time!
Sandra