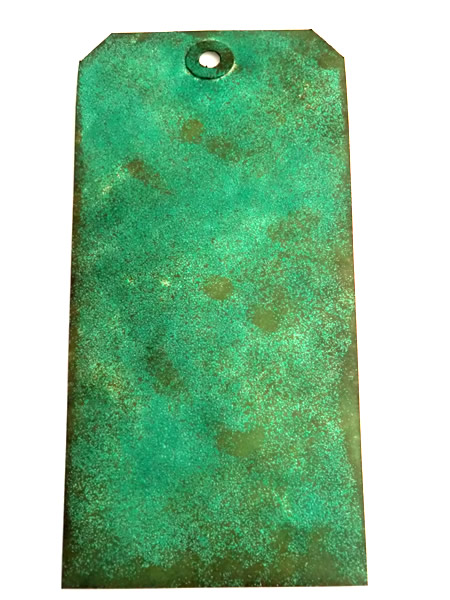
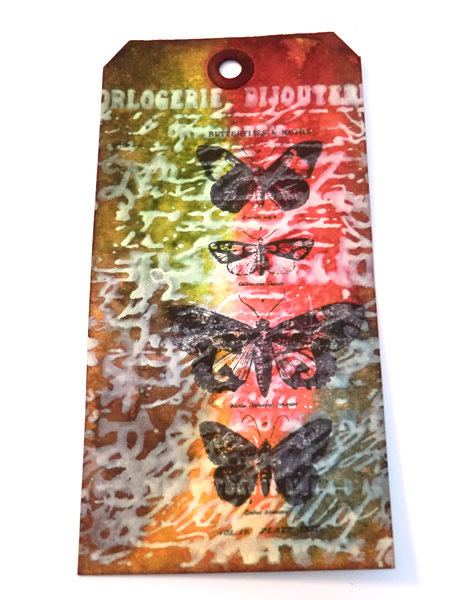
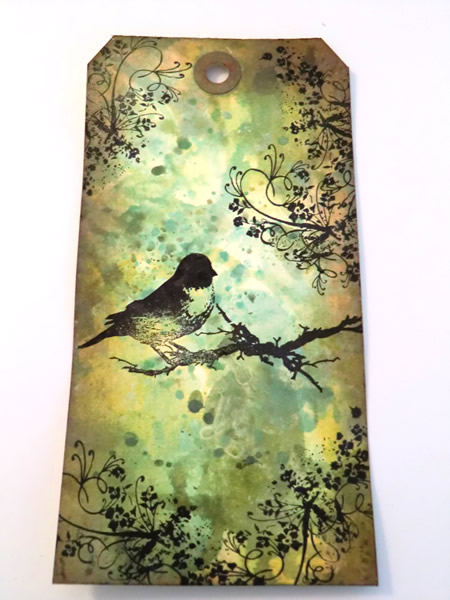
Grunge it up card

Click on the image and see how this was made. There is a video tutorial of the process.

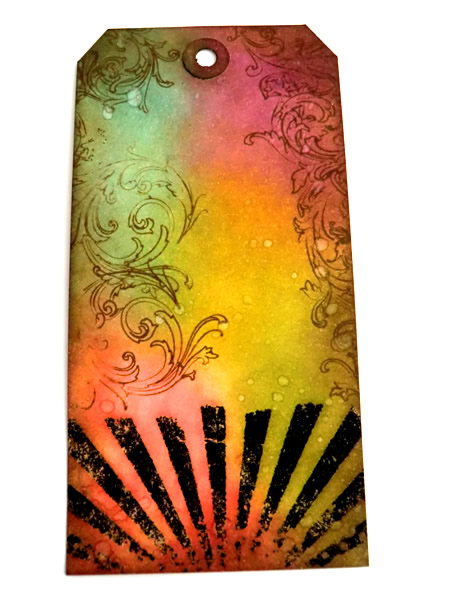
In My Garden card

Click on the image and see how this was made. There is a video tutorial of the process.

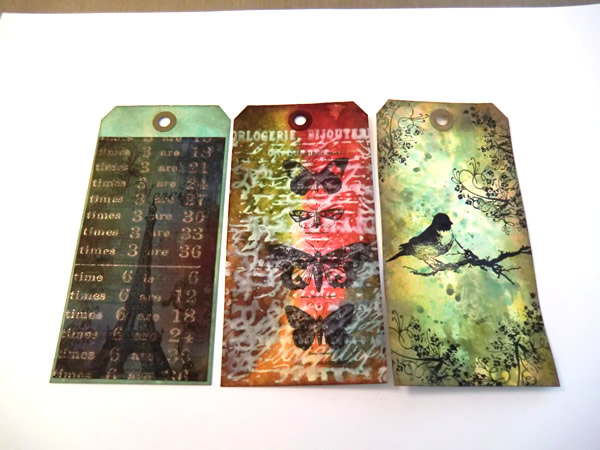
Timeless Treasure art journal spread

Click on the image and see how this was made. There is a video tutorial of the process.

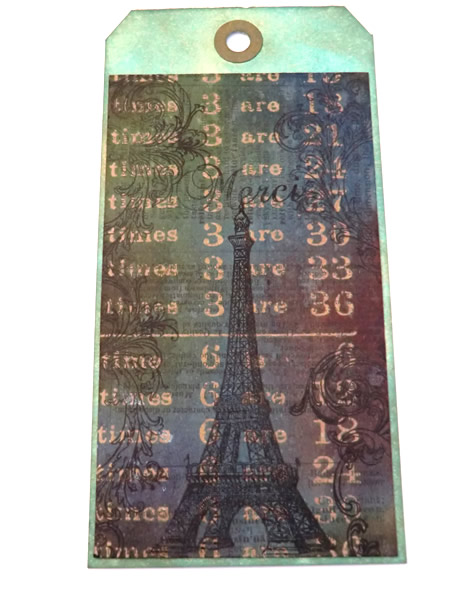
Father's day card

Click on the image and see how this was made. There is a video tutorial of the process.

Distress it card

Click on the image and see how this was made. There is a video tutorial of the process.

Saturday, March 31, 2012

12 tags of 2012 - March

Hi everyone,

Today is the last day to join in with the 12 tags or 2012 for the month of March. I finished it just in time. I thought that I had plenty of time, but time goes by really fast! I had so much fun making this tag, I only didn't had the wondertape, so I had to think of something else. I embossed it first and then I stuck the mosaic on it, but they wouldn't stick. I don't understand why multimedium didn't worked so well. Maybe that's because it doesn't stick immediately, that it has to dry first. I heard something like that... In this case I had no time for that. So I worked with double sided tape instead after I embossed...


With this tag I'm also playing along with Simon Says Stamp and Show and Dutch Lovers Card.
At Simon Says Stamp Show and the challenge is to make a tag and for Dutch Card Lovers, we have to use a sentiment.


Thank you for stopping by! Love to see you next time!

Hugs,
Sandra

Friday, March 30, 2012

Creative Chemistry - day 9

Hi everyone,

Only one more day of this awesome adventure. I shouldn't think about that, I should enjoy it! So that's what I did when I made the tags for day 9. Perfect Pearls were on the program. I wasn't planning on buying anything more for this class, but today I couldn't resist to pick up a few mini misters and some perfect pearls. I'm very glad I did. Lets see what Tim had in store for us today.


First we got the Perfect Distress Mist Technique. The first time I messed it up. I also used milled lavender, and that was to light, I added a few drops of dusty concord. After another attempt I made a super pearly tag, YEEY!

Then we got the Perfect Distress Technique, I've done this technique before. Only the ink doesn't spread out underneath the pearls as it should. I need to practice this technique some more, I think.


Finally the Perfect Splatter Distress Technique, I find this really cool technique. I wanted to stop halfway because I thought it was a big mess. But I had heard Tim say that distress is very forgiving so I went on, and I'm glad I did.


Thank you for stopping by! Love to see you next time!

Hugs,
Sandra
Thursday, March 29, 2012

Creative Chemistry - day 8

Hi everyone,

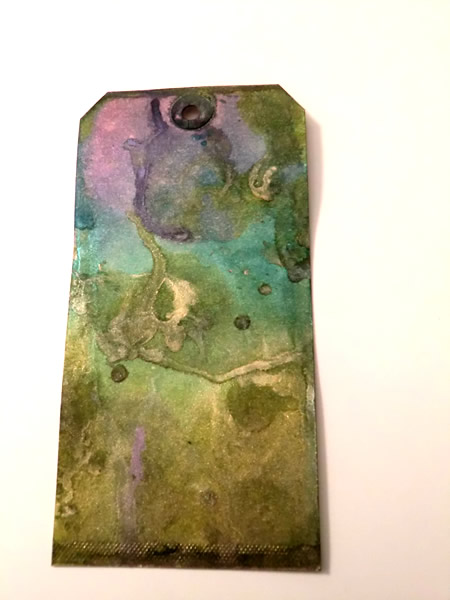
Can not believe it's day 8 alreayd. I am totally addicted to this course. Every day when I wake up a bit earlier so I can watch the videos of the class of that day. I'm learning so much about new techniques and characteristics of products. Totally awesome.  I did a bit of experimenting and did my own thing with two of the techniques. Today was Crackle Paint and Paint dabbers day. Again we got three techniques.


The first technique was the paint resist. This time on sticky back canvas. I didn't use the paint dabbers, but acrylic paint that I had lying around. I wanted to show the difference between the resist and stamping with paint afterwards. But the surface was still wet, so I didn't get the result I wanted. I think I'll try again later.


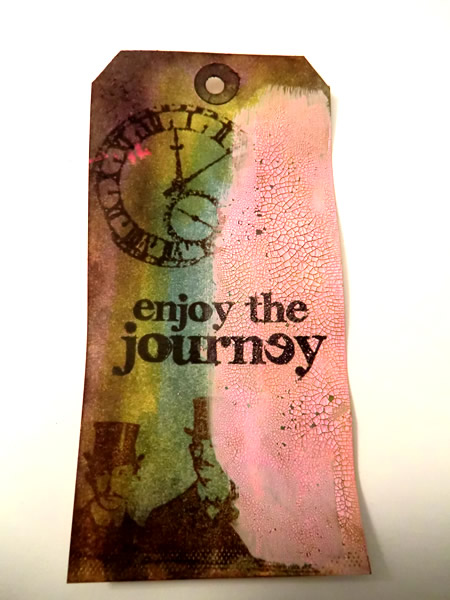
Then it was the crackle paint to resist turn. This we have recently done on a Grungy Monday challenge. But that wasn't a big success. But with the extra instructions from Tim, this time it worked out great. And I have made my own color crackle paint! I took some crackle paint picket fence (white) and mixed in a little bit of super bright pink. I'm so happy that it worked! I think that you have to use very little of other paint with it, else I think it don't crackle as well.


Finally a technique with Rock Candy Crackle Paint. This technique I have tried a couple of times, but I never got the desired result. Fortunately, after great explanation of Tim, I now know what to do.


Thank you for stopping by! Love to see you next time!

Hugs,
Sandra
Wednesday, March 28, 2012

Creative Chemistry - day 7

Hi everyone,

I'm a little bit behind again, but that's okay. I'm so busy with work and other things, but I do not want to miss this great course. And because Tim will not be available for questions via the forum for a lifetime (as the class is), I want to do every class, so I can still ask questions if I have any.

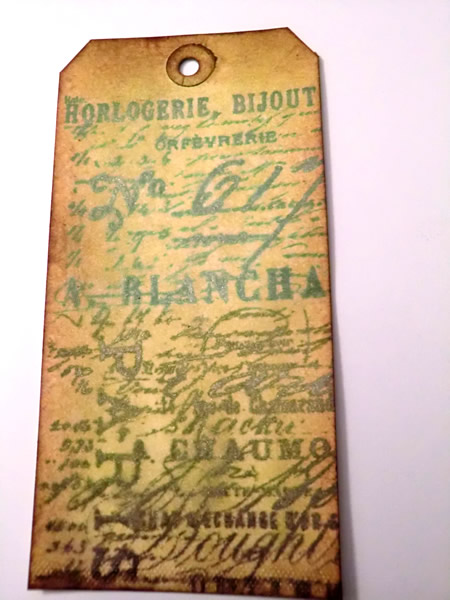
Okay, day 7 is embossing powder day. I regularly use embossing powder, especially clear. I don't have much embossing powders. I've got 6, and 1 of them is distress embossing powder, black soot to be exact. Another 3 techniques to learn today!


The first is Nostalgic Batik Technique, I didn't knew this technique yet and I think it's absolutely fabulous. This way you can use any color ink and make everything smooth again. Totally awesome.


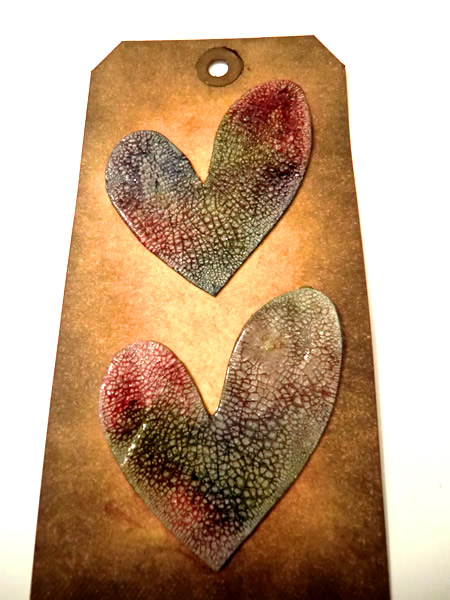
Then he explained the Rusted Enamel technique. I knew this technique of the 12 tags. But this time it's a bit different. I find this technique really cool.


Finally we got the Distress Powder Resist Technique. I only have black soot, and I have only used it 1 time, and I didn't get the desired effect then. I had watched a video where Tim explained how you should use it, but apparently I did something wrong. Anyway, I am very pleased that he put this technique in this class so I could try again and this time it was super. I did use Versamark even though Tim said not to use it, but I don't have Distress embossing ink. So i had to... Sorry Tim ;)!


Thank you for stopping by! Love to see you next time!

Hugs,
Sandra
Monday, March 26, 2012

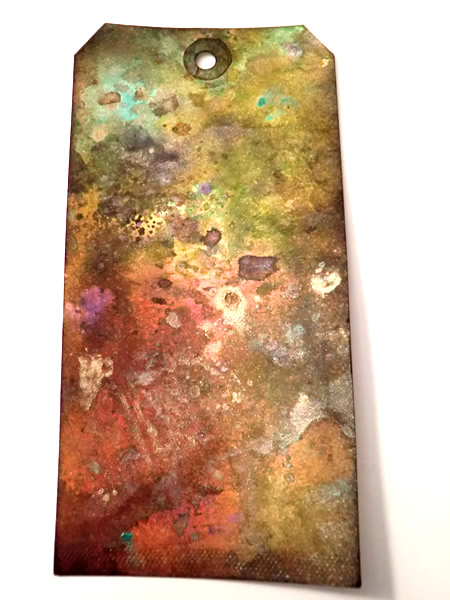
Creative Chemistry - day 6

Hi everyone,

It's already time for week 2 of this amazing online class from Tim Holtz. It's so much fun and I'm learning so much and I enjoy it to the fullest. Today the distress markers were on the program. Awesome! I don't have them all yet, because the boxes were sold out and so I bought the ones I use the most (Distress Inkpads that is) including picket fence of course.


First we learned about water coloring with markers. This technique is super fun. My favorite is blending on the craft sheet with water brush on dry paper.


Then blending with markers. This technique is also very cool. It's a bit the same as coloring with copics. Only the last butterfly doesn't match the technique. But I just had to try that one.


The last technique stamping with markers. It takes a bit of time before you completely colored the stamp, but super fun to do. Only when it went wrong when I distressed it. The butterflies are a bit faded into the background.


Thank you for stopping by! Love to see you next time!

Hugs,
Sandra

Sunday, March 25, 2012

Adventure of love

Hi everyone,

A quick post before I go to sleep. With this card I participate with Our Creative Corner, where the theme is spring break destination. There were plans to go to Paris, but unfortunately that does not happen. Maybe next year. And I'm joining in with Simon Says Stamp and Show where the theme is handmade backgrounds. Well with the course from Tim Holtz, I making lots of backgrounds with many different techniques.


Thank you for stopping by! Love to see you next time!

Hugs,
Sandra
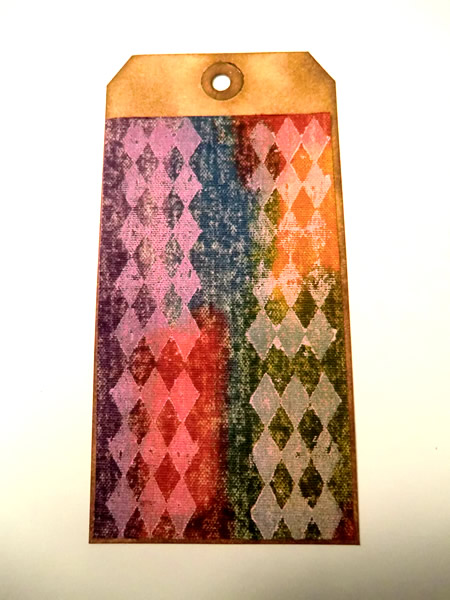
Creative Chemistry - day 5

Hi everyone,

Pffeww, luckily I made ​​it to catch up before Monday. So I'm up to speed for the next class. Today I've done day 5, and we have again super nice techniques learned and this time with stains. I only have a few stains, because I did not know what I had to do with them. I have seen videos. but I still didn't use them alot and now I love them.


The first technique today is stained kraft resist, and the kraft resist paper is one of the supplies that I bought for this course. So therefore I had to use it. Unfortunately I only have a few stains. I've got dark ones and very light ones. I used a dark one, in this case Faded Jeans. It's become a very dark tag,but I like it, because it's so different.


Then I was the stamping technique with stains turn. I think this is really a very difficult technique. The beautiful background with stains, and that special spray technique with the mister, and then stampingwith stains, phew. This was a tricky one. I had too many stains on the stamp, I think ... But quite a cool effect!


Finally the marbled stains technique. This I seriously redone 3 times. I was getting kind of mud twice. As I mentioned, I only have a few stains, apparently I picked the wrong combinations. Ultimately, I've made a mix ​​of stains and wrinkle free technique. And I think it's the best tag that I've made today.


Thank you for stopping by! Love to see you next time!

Hugs,
Sandra