Grunge it up card

Click on the image and see how this was made. There is a video tutorial of the process.

In My Garden card

Click on the image and see how this was made. There is a video tutorial of the process.

Timeless Treasure art journal spread

Click on the image and see how this was made. There is a video tutorial of the process.

Father's day card

Click on the image and see how this was made. There is a video tutorial of the process.

Distress it card

Click on the image and see how this was made. There is a video tutorial of the process.

Tuesday, January 28, 2014

12 tags of 2014 - January

Hi everyone,

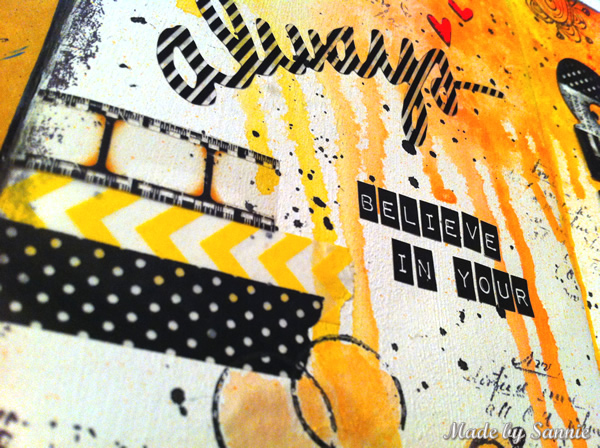
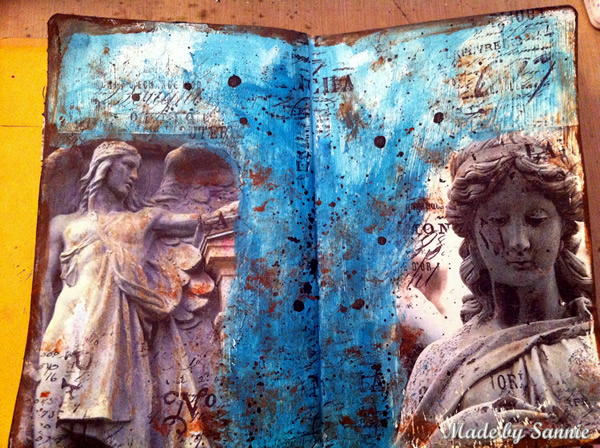
Well my resolution to comply with the 12 tags on time more, isn't off to ​​a good start ... haha. At the last minute, yet again... What an amazing tag has ​​our Tim made! This is one of my favorites!


I always find it a challenge to search for alternatives for the products he uses and I don't have. I thought I owned a lot of his stuff, well I guess not enough!


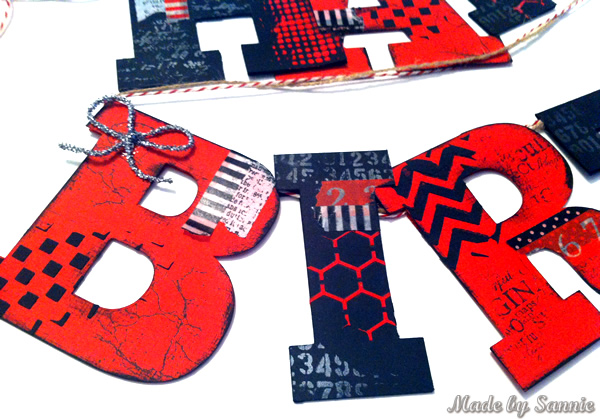
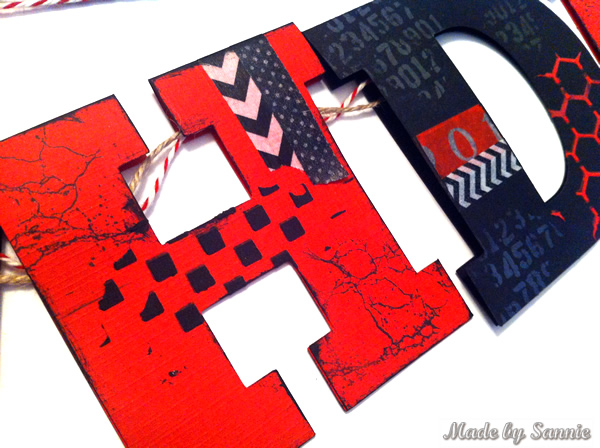
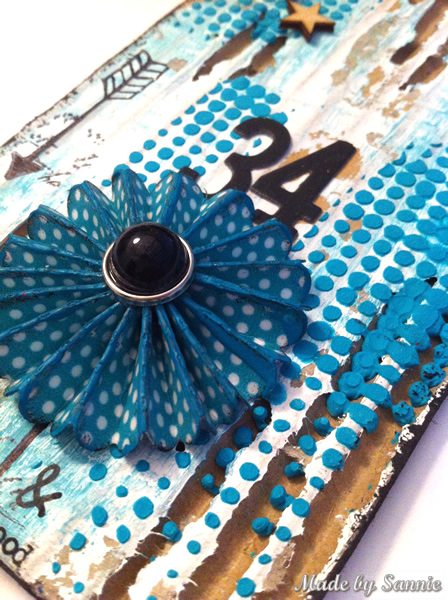
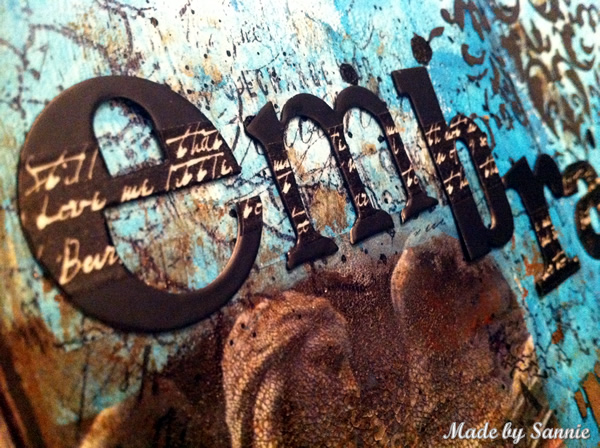
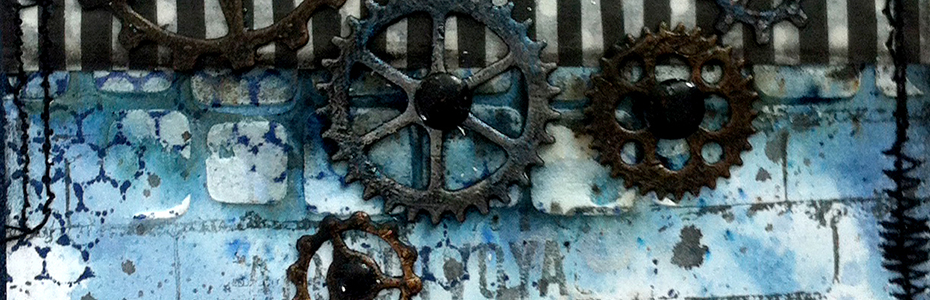
Coincidentally, the number rub ons are the exact same font and size as the Numero stamps from 7Gypies! To give them a weathered look, I rubbed the Archival Jet Black on the stamps instead of tapping it on.


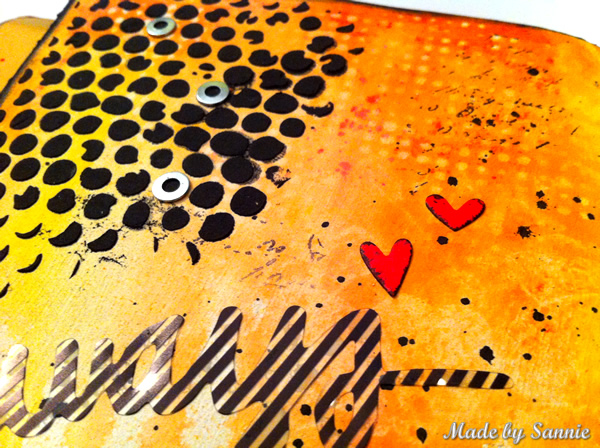
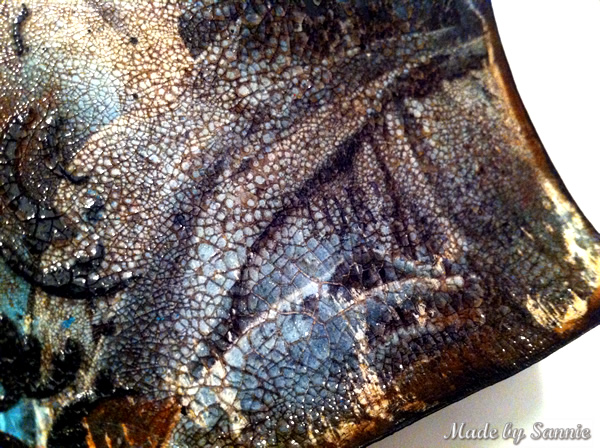
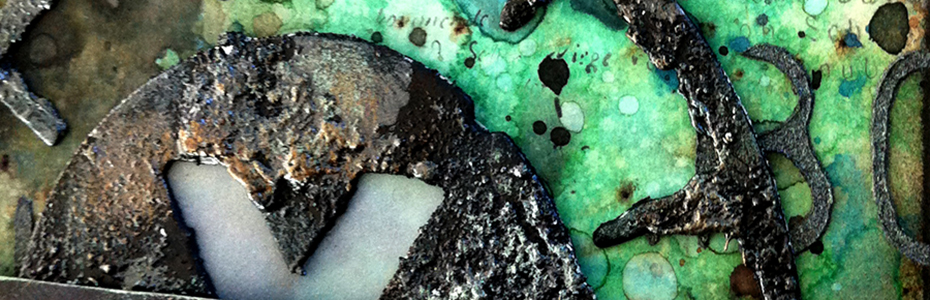
Unfortunately, I don'th have the big Pocketwatch die and have therefore used the Weathered Clock instead. I decited to give the whole clock a black background, so it pop more.


Thank you for stopping by! Love to see you next time!

Hugs,
Sandra

Monday, January 27, 2014

Howdy!

Hi everyone,

This week's theme at Simon Says Stamp Monday Challenge is "this is where the cowboy rides away... "! Will you use Tim Holtz western stamps? Do something cowboy inspired? Maybe do something with a setting sun, or about saying goodbye? maybe you’ll be inspired by old western movies, the desert, cactus, or just colors that remind you of the wild west This is a from a song that is currently stuck in my head – so feel free to run wild with lyrics from a catchy tune of your own!


I have to admit that I found this one a real challenge. I don't have a lot of cowboy-related stamps or embellishments. So it was a challenge to come up with something. I had already decided that I wanted to be a wild west theme. And if I think about that, I think of sand, sun and wood. Which translates to the colors yellow and brown. With Mustard Seed and Walnut Stain Distress Ink I made ​​the background.


To see if I had a suitable stamp, I went through my stamp stash, and came across the TimeTraveler. I had so much fun to be transformed him into a cowboy, well maybe more of a sheriff with the big mustache from the My Stache stamp set.


I love using Modeling Paste and coloring it in every color I like, but I wanted for this challenge to give the modeling paste more of a sandy texture. First I colored the modeling paste with Charcoal Black paint and then for the sand effect, I added a little Black Soot Distress Embossing Powder. In combination with the Stars stencil and the Wooden Stars it gives it a very cool effect.


50dollar_voucher_600px
To join in all you need to do is make a project that fits this weeks challenge and you can be the winner of the $50 gift voucher that our amazing sponsor Simon Says Stamp offers. This prize will go to a random entry. So go over to the Stamp and Show Monday Challenge blog, let the DT members inspire you and join in the fun!

Thank you for stopping by! Love to see you next time!

Hugs,
Sandra

Monday, January 20, 2014

Always believe in your art

Hi everyone,

A new Monday has arrived yet again and with it a new Simon Says Stamp Monday Challenge. And it's a real fun one too!  A is for... ". Be inspired by something that begins with the letter A. Such as a book title, or a song, or a product brand or a product. It could be anything!


When I thought of the letter A, I immediately thought of my art journal. I like to get artsy in it, but I need to let myself go and don't want to do everything perfectly. The sentiment is a reminder that.


I got myself a Gelatos kit as a gift. The same day I received them, I immediately needed to play with them. For the technique I had in mind a gessoed surface was required. After the gesso was dry I the gelatos party started. I applied 4 colors to the top of the page and I spritzed some water over them to make it into watercolor. Blended them with my finger and to get the drippage I held my art journal up and spritzed some more water until I was satisfied with the results.


What I find a cool technique, and that only works if you have a gessoed surface, the stencil removal. Such an easy but effective technique. You only need a baby wipe and a stencil.


The letters ART are cut out with my Silhouette Cameo, but before I did that I first covered the cardstock with different washi tapes. Like Yellow and Black Chervron and Dictionairy.


50dollar_voucher_600px
To join in all you need to do is make a project that fits this weeks challenge and you can be the winner of the $50 gift voucher that our amazing sponsor Simon Says Stamp offers. This prize will go to a random entry. So go over to the Stamp and Show Monday Challenge blog, let the DT members inspire you and join in the fun!

Thank you for stopping by! Love to see you next time!

Hugs,
Sandra

Tuesday, January 14, 2014

Celebrating with cupcakes

Hi everyone,

Yeah!!! Today is my birthday! Thank you so much for the sweet comments on my birthday banner and the birthday wishes! Super sweet!
For a few years now, it's been a tradition to make cupcakes for my birthday. I made these ones for my colleagues. Yesterday, I took the afternoon off to make the cupcakes. It cost me about 8 hours! I was so happy when I saw my bed, I can tell you that!

The photos were taken last night, so the lighting is awful. But you get the idea, I hope :). Every year I try something new. This year I brought my stamping hobby together with making cupcakes. I heard from someone (I can't remember who, so I can't give the credits...Sorry!) that you could use edible airbrush ink for stamping on fondant. Before I started I scrubbed my stamps thoroughly with detergent and warm water. Then inked a piece of Cut 'n Dry Stamp Felt with the edible air brush ink. I started stamping with the 34 (that's my age as of today ;)) from the Numero Stamp set. After that the sentiment of the French Kiss Stamp set. Unfortunately, the ink didn't stick to the stamp as well as I had hoped. Therefor not getting a crisp image. Later I tried the Wallpaper from Tim Holtz and that worked perfectly. The airbrush ink didn't look suitable with clear stamps, but it seems to work well with rubber stamps. I had a clear stamp ready to go, but to test my theory I chose a rubber one instead. The Fleur de Lis from the Paris to London Stamp set. Yes, my theory was confirmed, the rubber stamp worked perfectly with the edible airbrush ink! Lesson learned!


Stencils are also quite useful for decorating cupcakes. Such as icing (the icing with the consistency of sticky modeling paste) and icing sugar.


Thank you for stopping by! Love to see you next time!

Hugs,
Sandra

Monday, January 13, 2014

My Birthday Banner

Hi everyone,

Simon Says Stamp Monday Challenge has such a nice challenge for us. It's anything goes! So, no rules, no requirements, just enjoy crafting and join in!


Can't believe that my birthday is tomorrow! Ohh my, the years really fly by! After packing up the Christmas decorations last week, it was really sad. Normally I don't decorate the house for my birthday. But why not? I thought it was a great idea to decorate my house a little bit again. And bring the festivities back for a little while. 


It's been a while since I used my Silhouette Cameo. Perfect time to put it to work. In the cutting software I played around a bit and soon I knew what I wanted to do. I wanted a fun birthday banner.


After I cut the letters out of red or black cardstock, it was time to start embellishing them. My beloved washi tapes needed to make their appearance. I think it's such a nice effect to use Perfect Pearls on a black surface.  And for some more texture I colored modeling paste with Charcoal Black or Modern Red paint.

50dollar_voucher_600px
To join in all you need to do is make a project that fits this weeks challenge and you can be the winner of the $50 gift voucher that our amazing sponsor Simon Says Stamp offers. This prize will go to a random entry. So go over to the Stamp and Show Monday Challenge blog, let the DT members inspire you and join in the fun!

Thank you for stopping by! Love to see you next time!

Hugs,
Sandra

Monday, January 6, 2014

The teal and aqua blues

Hi everyone,

Here we are again with a new Simon Says Stamp Monday Challenge. The first of the new year, and the theme is January Blues. Got the post holiday blues, it's rainy and drizzly weather where you are? Whether you like the color blue just very much. Then join in the fun


My favorites shades of blue are teal and aqua. I cut out a piece of corrugated cardboard the size of a #8 manila tag, and with the Retractable Pick I removed in some places the top layer so that the corrugation became visible. To give it some sort of whitewash effect I have applied Gesso randomly. And to give it a blue touch I'm went lighty over it the Pool Paint Dabber.


For the Mini Rosette I first covered the cardstock with the Scattered Dots washi tape before I went through my Vagabond. This way you can make your own pattern paper. The brad on top of it is from American Crafts.


To bring more structure to the tag, I colored some Modeling Paste with Classic Teal Studio Paint colored and used it ​​with one of my new favorites the Dot Fade stencil.
50dollar_voucher_600px
To join in all you need to do is make a project that fits this weeks challenge and you can be the winner of the $50 gift voucher that our amazing sponsor Simon Says Stamp offers. This prize will go to a random entry. So go over to the Stamp and Show Monday Challenge blog, let the DT members inspire you and join in the fun!

Thank you for stopping by! Love to see you next time!

Hugs,
Sandra

Wednesday, January 1, 2014

Embracing the old

Hi everyone,

Happy New Year!! Hope that your wishes for 2014 will come true! It's time for the second half of Simon Says Stamp Monday Challenge Design Team. We've been asked to use our old favorites to ring in the new year.


When I think of old, I think of aging techniques. I did the image transfer technique with Multi Medium Matte and images I printed with my laser printer. Over that I used my old Rock Candy Distress Crackle Paint. That is so old that it has become really think. I have it mixed with wate , but it's not the same as it should be. When it dried I noticed that every crackle was only attached in the middle and not at the edges. This gave it a very dull and frosted effect. By going over it with Walnut Stain Distress Stain it got a lot better. But the fact remains that this old favorite has had his best days...


Looking back, I should have done the image transfer on a beautiful background, not on a white one. So that background would show through like it should with an image transfer.


Now I have to make them blend in with the background so that they don't stand out that much. Also a fun technique to do.


With a bit of paint here and a few random stamps there, they became a part of the background. But lesson learned for next time when I'm doing the image transfer technique... Make a background first.


To join in all you need to do is make a project that fits this weeks challenge and you can be the winner of the $50 gift voucher that our amazing sponsor Simon Says Stamp offers. This prize will go to a random entry. So go over to the Stamp and Show Monday Challenge blog, let the DT members inspire you and join in the fun!

Thank you for stopping by! Love to see you next time!

Hugs,
Sandra