Grunge it up card

Click on the image and see how this was made. There is a video tutorial of the process.

In My Garden card

Click on the image and see how this was made. There is a video tutorial of the process.

Timeless Treasure art journal spread

Click on the image and see how this was made. There is a video tutorial of the process.

Father's day card

Click on the image and see how this was made. There is a video tutorial of the process.

Distress it card

Click on the image and see how this was made. There is a video tutorial of the process.

Monday, July 31, 2017

Fruity Get Well card with video tutorial

http://www.simonsaysstampblog.com/mondaychallenge/
Hi everyone,

It's Monday and that means a new Simon Says Stamp Monday Challenge! This week it's all about "Foot and/or Drinks".

This challenge is pretty self explanatory! We would like you to include some food and/or drink on your creation! We will be looking forward to seeing what tasty goodness you serve up for us this week! :-)


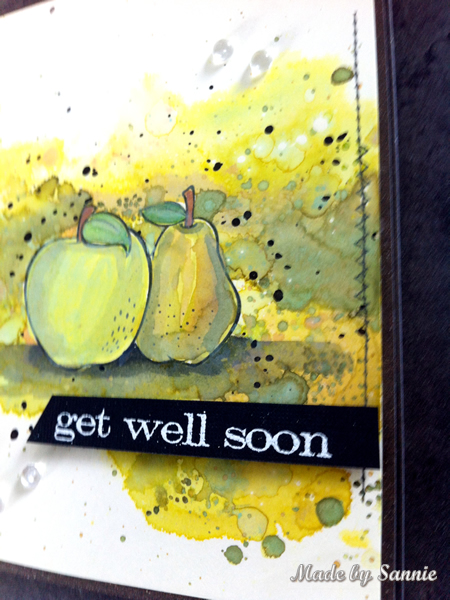
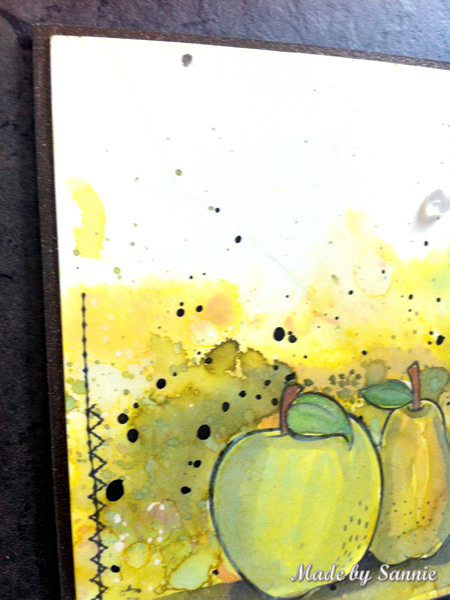
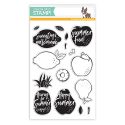
This is a little bit of a different style card than I usually make (like I don't really do watercoloring a lot, I didn't use washi tape... and no distressed/inked edges), but I'm really happy with the result. For this card I 've used two different masking methods. I've partially masked the Simon Says Stamp Dancing Fruits stamps with Masking Tape to stamp the apple in front of the pear. And then I masked them with Incredible White Mask Liquid Frisket. I haven't used it for a while now and it's no longer incredible white... not at all... Little warning: this stuff smells really bad, but it works really good!


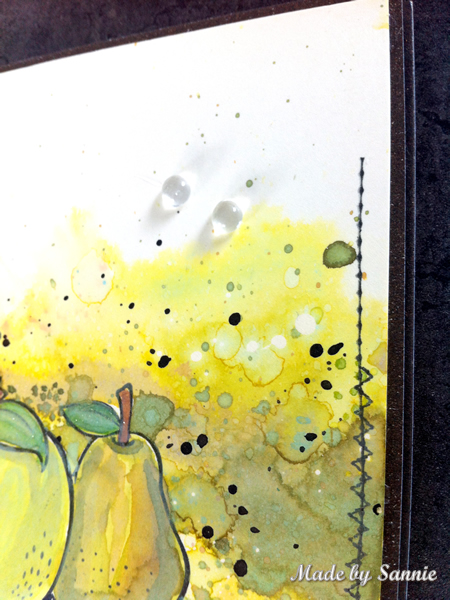
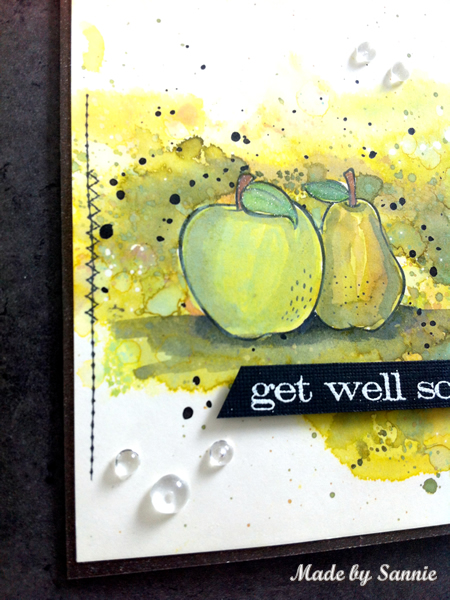
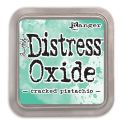
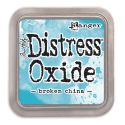
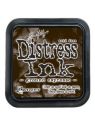
After I finished the background made with Distress Oxide, I applied Distress Ink Black Soot to creat a shadow. This to ground  the Dancing Fruits, and for this I also made a partial mask for the pear. Actually, you don't have to make a mask for it, but I know myself .... I need to...
I was thinking about leaving them plain, but eventually I chose to color them in. I used both Distress Oxide and Distress Ink to do so.


VIDEO:


SUPPLIES:


50dollar_voucher_600px
To join in all you need to do is make a project that fits this weeks challenge and you can be the winner of the $50 gift voucher that our amazing sponsor Simon Says Stamp offers. This prize will go to a random entry. So go over to the Simon Says Stamp Monday Challenge blog, let the DT members inspire you and join in the fun!
http://www.simonsaysstampblog.com/mondaychallenge/
You have until Monday 8am Ohio time. 1pm UK time, 2 pm CET to join in.

Follow Simon Says Stamp on Instagram
Instagram
If you use instagram add #sssmchallenge to your challenge entry uploads so we can see them on there too!

http://www.simonsaysstamp.com/

Thank you for stopping by! Love to see you next time!

Hugs,
Sandra

Monday, July 24, 2017

Edged Birthday card with video tutorial

http://www.simonsaysstampblog.com/mondaychallenge/
Hi everyone,

It's Monday and that means a new Simon Says Stamp Monday Challenge! This week it's all about "You've Got The Edge".

We would like you to focus on the edges of your creation and add some interest to them, You could use die cut borders, distressing, embossing, inking, stitching or any other way to draw your eye to the edges of your project. we will be looking forward to seeing how you interpret this challenge!


For this challenge I went over the edge by placing the Pediment over the edge of my card. But of course I've also distressed the edges of the card, with 3 different products. First Distress Ink Ground Espresso, then Distress Crayon Walnut Stain and last Paint Dabber Pitch Black. I made the background with Distress Oxides in 2 different steps. First the blue tints with a little brown, and then the green tones with a little brown. Then I added some more color to the blending tools.


Speaking about the blending tools. Just want to share a little project that I've done with my father, and that I'm thrilled about. My dad has a lathe and we designed the blending tools together. Although we've followed the amazing example of the original mainly. The wood is reclaimed wood from my uncle's old bed. The tray they are stored in is made out of foamboard (love it). The transparencies with the colored labels also have a small piece of velcro stapled on them to store the blending foams. Because I only have 22 blending tools (there was all we could get out of the wood we got...), and there will 60 colors, so I need storage for the other colors. I've already made transparencies for all the 60 colors, because let's be honest, I want them all of course... The transparencies in the tray with the blending tool also have velcro on them so I can switch the colors I want on a blending tool when the other colors come out. So happy with the outcome of this little project!


But back to the card again. The next step was to paint the Old Townscape black, then sanding it and inking it up with Ground Espresso and different Distress Oxides. Then I added some more effect by using Prima Marketing waxen. It now looks like rusty metal houses. Which is a little crazy ...


VIDEO:


SUPPLIES:

50dollar_voucher_600px
To join in all you need to do is make a project that fits this weeks challenge and you can be the winner of the $50 gift voucher that our amazing sponsor Simon Says Stamp offers. This prize will go to a random entry. So go over to the Simon Says Stamp Monday Challenge blog, let the DT members inspire you and join in the fun!
http://www.simonsaysstampblog.com/mondaychallenge/
You have until Monday 8am Ohio time. 1pm UK time, 2 pm CET to join in.

Follow Simon Says Stamp on Instagram
Instagram
If you use instagram add #sssmchallenge to your challenge entry uploads so we can see them on there too!

http://www.simonsaysstamp.com/

Thank you for stopping by! Love to see you next time!

Hugs,
Sandra