Grunge it up card

Click on the image and see how this was made. There is a video tutorial of the process.

In My Garden card

Click on the image and see how this was made. There is a video tutorial of the process.

Timeless Treasure art journal spread

Click on the image and see how this was made. There is a video tutorial of the process.

Father's day card

Click on the image and see how this was made. There is a video tutorial of the process.

Distress it card

Click on the image and see how this was made. There is a video tutorial of the process.

Monday, June 29, 2015

Summery birthday card

Hi everyone,

Monday means a new Simon Says Stamp Monday Challenge. It's a summer challenge. Summer has just started and why wouldn't we celebrate this? Be inspired by this amazing season.


This is the last one of my summer birthday card season. I wantedto try something else like magazine collaging. I'm not really a magazine reader, so I have to make do with H&M catalogs. Normally, this is more something I would do in an art journal, but by keepingt simple it can also work on a card.


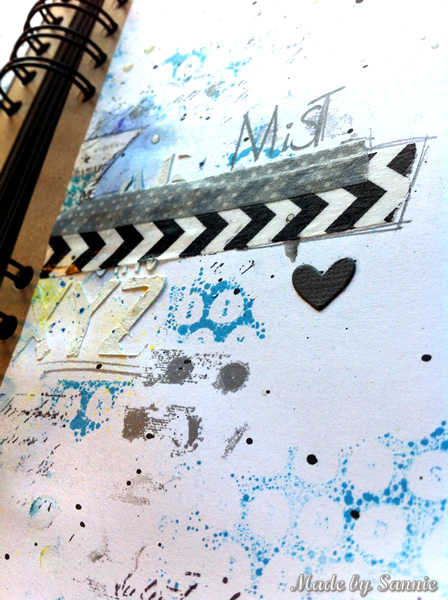
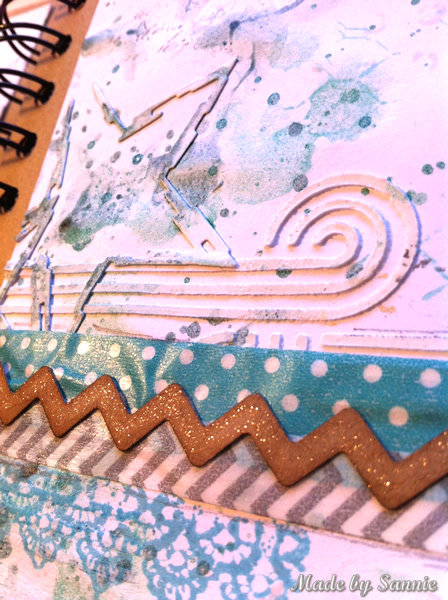
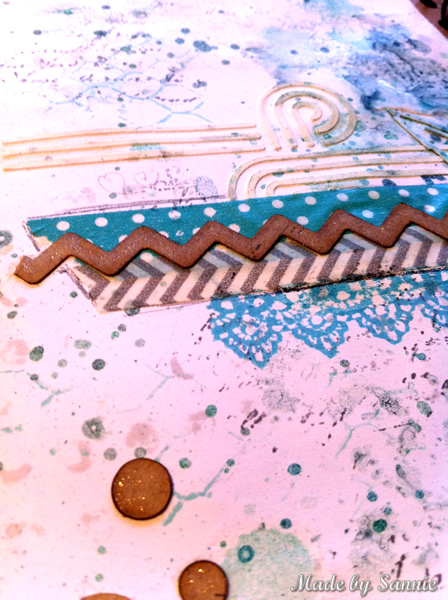
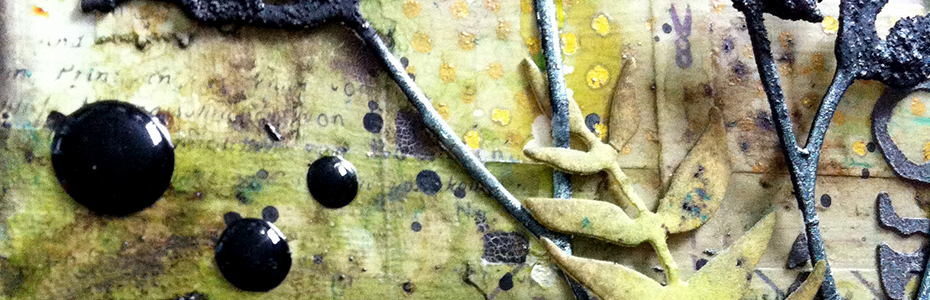
First I made the background by spraying over the Leaves mask with Lemon Zest and let it lie so I could make other layers such as making splashes Neon Pink and Black Marble. I then outlined the Leaves with a Pitt Artist Pen.


After frequently browsin through the catalog I've found the model I wanted to use on my card and the extra accessories that I wanted to use. I've got to practice lots more on collaging. I'm still a little bit too cautious, but that's okay for doing this technique on a card. After I cut out all the elements and collaging them, it was time for some coloring. I've used different colors of Distress Markers that were also used in the background. Distress Markers work perfectly on Multi Medium Matte. With a white Sharpie, I doodled a little bit.


50dollar_voucher_600px
To join in all you need to do is make a project that fits this weeks challenge and you can be the winner of the $50 gift voucher that our amazing sponsor Simon Says Stamp offers. This prize will go to a random entry. So go over to the Stamp and Show Monday Challenge blog, let the DT members inspire you and join in the fun!

Thank you for stopping by! Love to see you next time!

Hugs,
Sandra

Sunday, June 28, 2015

12 tags of 2015 - June

Hi everyone,

This time I deliberately waited with making the June tag  of the 12 tags of 2015 until the last moment, because I had ordered the DIY Distress Pad. Unfortunately it didn't arrive on time. So I will use it for another project :).

 
I have made the stripes a different but similar way, by swiping the Distress Ink Pads from light to dark. I got a similar result. The first attempt didn't go so well. The tag was not dry and the stencil was way too wet. The second attempt I needed a bit more water, but I like the result anyway :).


Thank you for stopping by! Love to see you next time!

Hugs,
Sandra

Monday, June 22, 2015

Stamping mist

Hi everyone,

A new Simon Says Stamp Monday Challenge makes its debut. This week we ask you to combine stamps with mists. The theme is: "Stamp + Mist".


Experimenting is something I like to do in my art journal. That has a greater surface area than a card or a tag and I've got more space. I didn't gesso the surface. But I've used the Jumbled Letters  with texture paste to create some texture. I also applied Liquid Frisket drops with a brush (Warning: This stuff smells very bad, so make sure you've got a window open. Although the odor won't last long). Liquid Frisket is a liquid mask. After your finished with your project, you can rub it off or leave it as transparent dimensional drops. The Liquid Frisket can stain a little bit of the ink that's applied on top of it.


This time I wanted to try a technique with pigment powder (Primary Elements from Luminarte). I picked the  pigment powder with a brush and tap with my finger on the brush to spread the powder across the page. With the mister I activated the colors and what a cool effect! This way, you have the effect of a spray, but much more subtle than if you sprayed with a colored mist.


The Primary Elements doesn't have any binder to hold the mica. If you make it into a spray, you can use Gum Arabic as a binder. But for this technique hairspray is the answer.


50dollar_voucher_600px
To join in all you need to do is make a project that fits this weeks challenge and you can be the winner of the $50 gift voucher that our amazing sponsor Simon Says Stamp offers. This prize will go to a random entry. So go over to the Stamp and Show Monday Challenge blog, let the DT members inspire you and join in the fun!

Thank you for stopping by! Love to see you next time!

Hugs,
Sandra

Wednesday, June 17, 2015

The color of fun

Hi everyone,

Today I could pick up a fun package at the post office of Simon Says Stamp containing a number of products from the new release: The Color of Fun. I couldn't wait and I immediately began with this art journal spread.

I used all the products and they go so well together:


There are so much more beautiful products in this release, check them here.


It was really fun to make this page! I've cut out the Graphic Twist die and used it as a stencil.
That was it again for this short post. Have fun with color!


Thank you for stopping by! Love to see you next time!

Hugs,
Sandra

Monday, June 15, 2015

Vintage pasting

Hi everyone,

It's time for a new Simon Says Stamp Monday Challenge: "Don't cut, just paste". From texture paste to paste-like paints. No cutting, but pasting.

I chose to not cut, but paste. I need to do more with the ready to go cut outs I've collected over the years. And pasting them to create a background is a perfect way to use them. Better term might be collaging. I've glued them all with Multi Medium Matt, but I didn't seal them with a layer on top, which is often done with collaging. I wanted them to remain porous, because I wanted to work with watercolor.


What a difference a little Walnut Stain Distress Ink on the edges of the card can do, just as some random stamping with my favorite stamp Script from Kaiser Craft and some splashes with Black Marble. These few small steps give it such a vintage vibe already.


With watercolor, I went along the edges of all pieces of ephemera to give it depth, but also to enhance the vintage look. I wanted more color on this card, and I put a few drops of Cracked Pistachio and Walnut Stain Distress Paint into the Texture Paste and mixed it to a vintage patina color.


I thought it was a shame to cover the background, but I wanted a sentiment on it. It was too dimensional because of the texture paint to stamp on it. So I chose to stamp with StazOn on a transparent sheet and stapled it to the card. Before I stapled it, I carefully went around the edges with a lighter to melt them a little and gave them a kind of time worn look.


50dollar_voucher_600px
To join in all you need to do is make a project that fits this weeks challenge and you can be the winner of the $50 gift voucher that our amazing sponsor Simon Says Stamp offers. This prize will go to a random entry. So go over to the Stamp and Show Monday Challenge blog, let the DT members inspire you and join in the fun!

Thank you for stopping by! Love to see you next time!

Hugs,
Sandra

Monday, June 8, 2015

Botanical love

Hi everyone,

A new Monday has begun and with it a new Simon Says Stamp Monday Challenge! This week we are all about: "For the love of plants". Everything that has to do with plants is allowed!


Unfortunately, I don't have green fingers. My plants I keep at home don't last as long as they should, I'm affraid. Fake plants are a good solution for me. The current situation is fifty-fifty. I love plants, and the vibe they give, and I also like using plants and flowers in my crafting. They really live forever, even without green vingers!


I made the flowers out of Kraft cardstock and cut them out with Tattered Flower Garland and Greenery Spring Decorative Strips. With different colors Distress Paint I have given them color. I haven't used the dabber part, but I colored them with my fingers. This way the dabbers won't get contaminated with other colors, but I also I find it easier to apply the paint with my fingers. At some point the were green for a moment... If only it were that simple! Ha!


The background is made with a sheet of pattern paper from the Lucky Paperpad. The green color wasn't the color I wanted and so I applied some Bundled Sage Distress Paint to make it lighter and Mermaid Lagoon Distress Ink to bring in more color. With some Rub Ons, stamps and Heirloom Gold Mist combined with the Dot Fade stencil I have given some more interest to it.


50dollar_voucher_600px
To join in all you need to do is make a project that fits this weeks challenge and you can be the winner of the $50 gift voucher that our amazing sponsor Simon Says Stamp offers. This prize will go to a random entry. So go over to the Stamp and Show Monday Challenge blog, let the DT members inspire you and join in the fun!

Thank you for stopping by! Love to see you next time!

Hugs,
Sandra

Monday, June 1, 2015

Let's be royal with foil

Hi everyone,

It's Monday and that means a new Simon Says Stamp Monday Challenge! The theme for this week is: "Let's be royal." Think princesses, crowns, jewels, etc.


My spin to this challenge was: Let's be royal with foil! That rhymes too. Friends of mine recently got married and it I had to make a wedding card for them. I wanted a combo of the grungy distressed look with a bit of elegance. That's why I chose gold foil combined with black and white. This time I did a different technique with foil.


For those who don't have a laminator, but got a heat tool and also loves the distressed look, this might be something to try. I've used the Minc gold foil from Heidi Swapp, Clear Embossing Powder, stamps of the Regal Flourish set by Tim Holtz and a heat tool. First I stamped the stamps with Versamark and used clear embossing powder. This I heated with the heat tool. I placed a piece of gold foil over it. Placed it on a heat resistant surface and something by hand to rub over immediately afterward. I first used a brayer, but that doesn't really give the desired result. Later I found that an old bank card worked a lot better. Heat it with the heat tool, not for too long, otherwise the foil melts and the embossing powder soaks into the paper, so there is nothing to hold the foil. It's a matter of expirementing a few times to know the boundries of the foil and embossing powder.


This technique with the heat tool is so cool because it gets you larger pieces of foils than the stamp is. The wings are much more detailed, but are more massive covered with foil. Love that!


Do you like clean look more, then the laser prints is the technique for you, along with the laminator. Cleanest result I got was with this combo. This technique always got me great clean results.


50dollar_voucher_600px
To join in all you need to do is make a project that fits this weeks challenge and you can be the winner of the $50 gift voucher that our amazing sponsor Simon Says Stamp offers. This prize will go to a random entry. So go over to the Stamp and Show Monday Challenge blog, let the DT members inspire you and join in the fun!

Thank you for stopping by! Love to see you next time!

Hugs,
Sandra