Grunge it up card

Click on the image and see how this was made. There is a video tutorial of the process.

In My Garden card

Click on the image and see how this was made. There is a video tutorial of the process.

Timeless Treasure art journal spread

Click on the image and see how this was made. There is a video tutorial of the process.

Father's day card

Click on the image and see how this was made. There is a video tutorial of the process.

Distress it card

Click on the image and see how this was made. There is a video tutorial of the process.

Tuesday, July 30, 2013

12 tags of 2013 - July

Hi everyone,

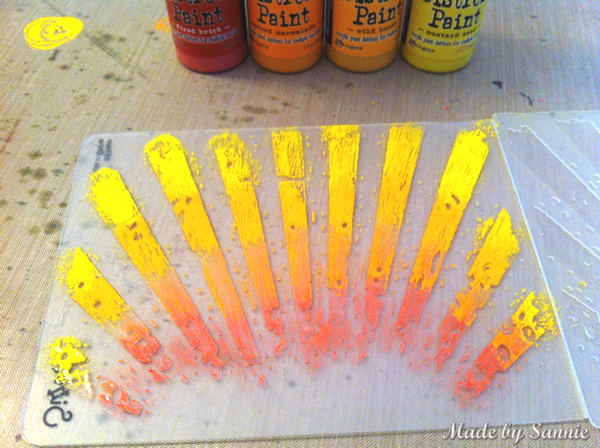
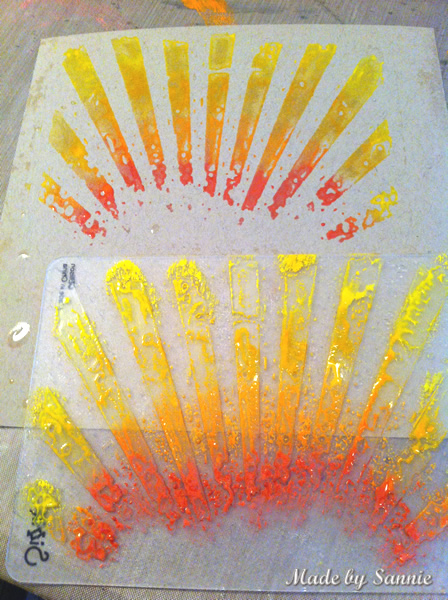
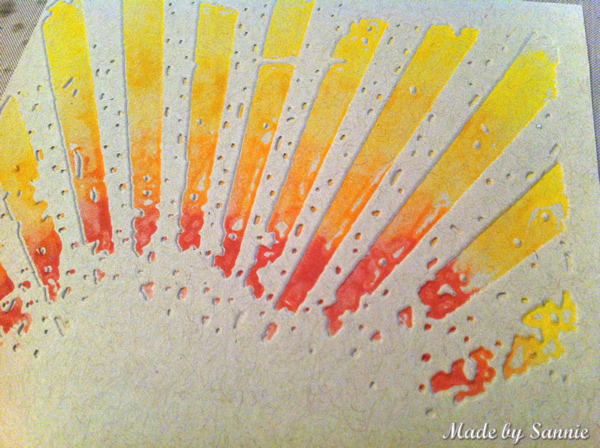
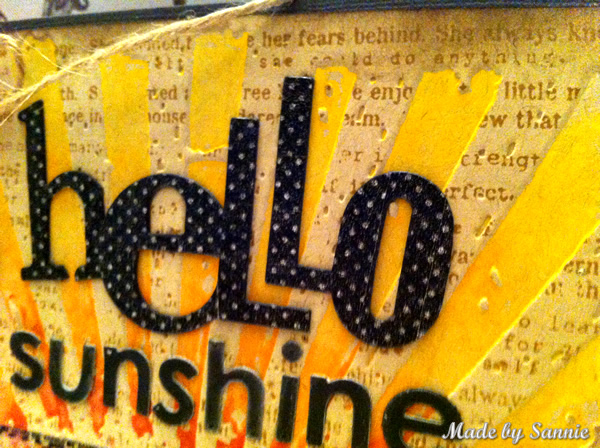
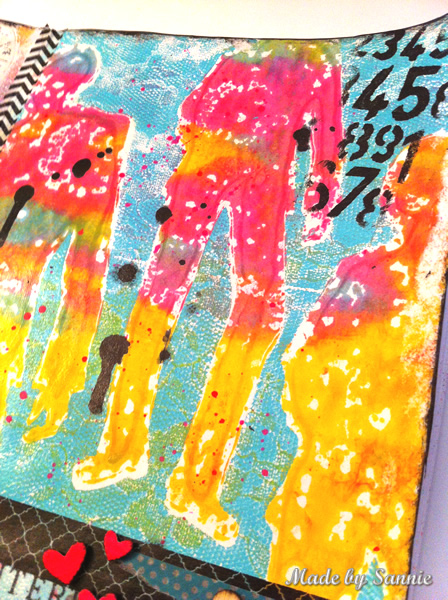
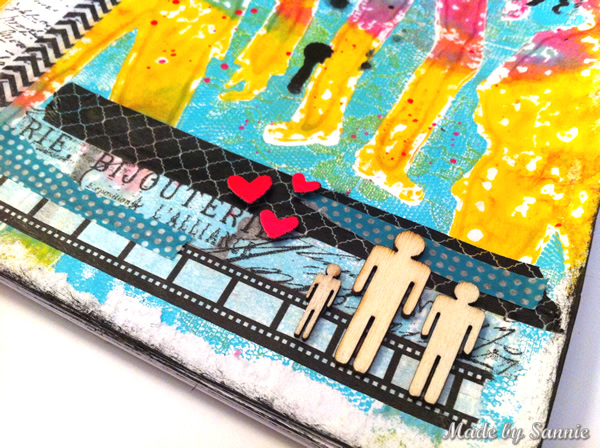
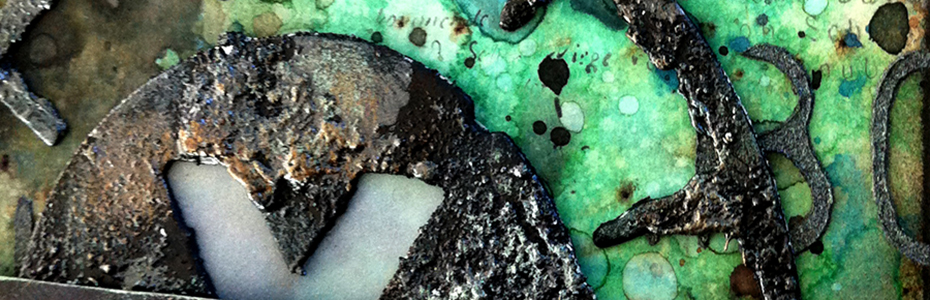
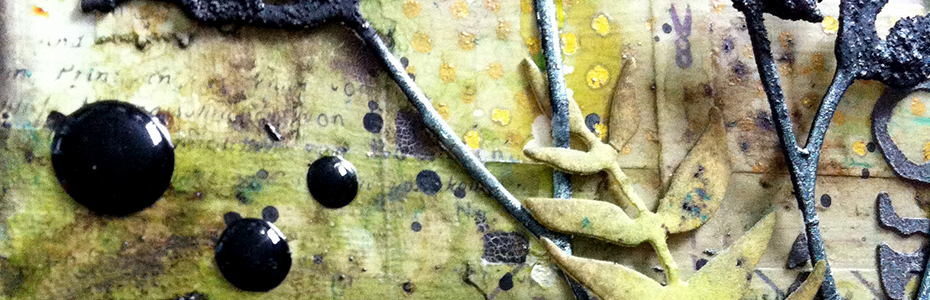
It's time for Tim's July tag, and I'm again just at the last minute with my entry. Tim has made another beautiful tag ​​full with great techniques. So cool to make a background with a brayer and stains. I never thought of doing that on my own. When I saw the tag in the beginning of the month, I knew I wanted to use my new London stamps for this tag.


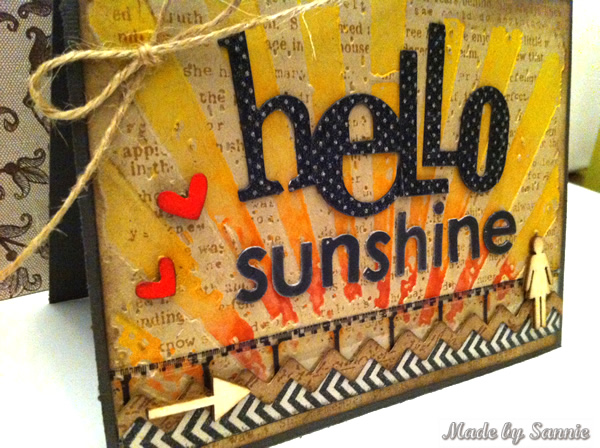
To fade the stamps a bit into the background, I tapped the stamp on the inkpad first, and then wiped it with the ink path. This leaves a small amount of ink on the stamp, and a bit more ink remains into the notches and that creates more dimension.


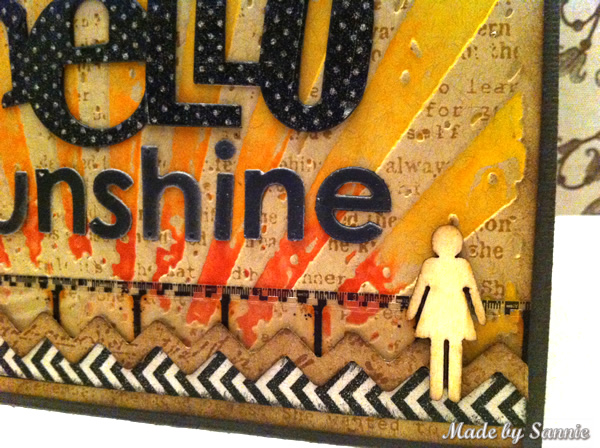
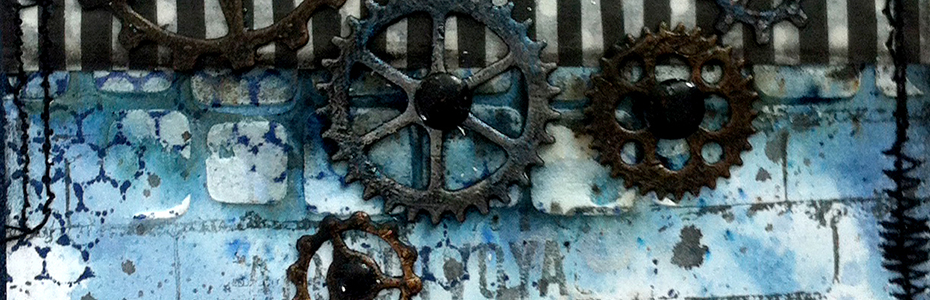
The pocket watch I first painted black and then coated it with Rock Candy. And I stamped the pocket watch on top with the gold Paint Dabber.


The "thank you" I have taken over from the original tag of Tim, because that theme is independence day.


Thank you for stopping by! Love to see you next time!

Hugs,
Sandra

Monday, July 29, 2013

Hello Sunshine

Hi everyone,

The sun has had us waiting for a long time here in Holland, but the last few weeks he has made up for it. As a special treat we have had a heat wave. The last one was in 2006. All this talk about the weather has something to do with the Simon Says Stamp Monday Challenge. This week's challenge is Ode to Sunshine. Whether you use a stamp or sun like colors. As long as it is something sunny!


I made ​​a card for my best friends birthday. She uses the phrase "Hello Sunshine" a lot and thought it was perfect for this challenge and for her.

When I thought of sunshine, I immediately thought of the Rays Embossing Folder by Tim Holtz. I really love that embossing folder, and I wanted to use it as a stamp but also do embossing with it. Because I wanted a Kraft background, I needed something that was opaque. So there came the Distress Paints into play.


I applied the Distress Paints from dark to light onto the raised areas of the embossing folder.


Then stamped with it by hand.


After I cleaned the embossing folder I aligned it and passed it through the vagabond.


If you look closely you can see that the sun's rays are debossed, but to make it look like that they are embossed, I carefully stamped with the She Art Print stamp on top op de raised areas.


Before I die cut the "hello" I covered the cardboard with Washi tape. Simple way to make your own patterns.


50dollar_voucher_600px
To join in all you need to do is make a project that fits this weeks challenge and you can be the winner of the $50 gift voucher that our amazing sponsor Simon Says Stamp offers. This prize will go to a random entry. So go over to the Stamp and Show Monday Challenge blog, let the DT members inspire you and join in the fun!

Thank you for stopping by! Love to see you next time!

Hugs,
Sandra

Wednesday, July 24, 2013

Take the cake

Hi everyone,

Today I'm sharing a celebratory tutorial on the Simon Says Stamp Monday challenge blog. I'm so happy to do this special tutorial for this special challenge. It's all about celebrating this week. Because our challenge blog is been posting fun and exciting challenges for three years now! To make you even a bit curious about what I've made, here's another sneak peak.


Make sure to check the Simon Says Stamp Monday challenge blog to see my whole project.

50dollar_voucher_600px
To join in all you need to do is make a project that fits this weeks celebratory challenge and you can be the winner of the $50 gift voucher that our amazing sponsor Simon Says Stamp offers. This prize will go to a random entry. So go over to the Stamp and Show Monday Challenge blog, and take a look at my tutorial.

Thank you for stopping by! Love to see you next time!

Hugs,
Sandra

Monday, July 22, 2013

Celebrating

Hi everyone,
 
It's Monday and it's a really special one, because this week it's three years ago that our challenge blog is posting fun and fabulous challenges. And to make it even more special we also have a brand new blog and it's called the Simon Says Stamp Monday Challenge. It really looks amazing.
Normally I would have posted my project for this weeks challenge, which is 'Celebrate'. But not this time. Nope,  I'm only sharing this little sneak peak of the project I made, to make you a bit curious and keep you in suspense!


Why, you ask? Well, it's because I'm doing a tutorial over at our new challenge blog this Wednesday. So make sure to check the Simon Says Stamp Monday challenge blog to see my whole project then.

50dollar_voucher_600px
Don't forget to join in the fun. All you need to do is make a project that fits this weeks celebratory challenge and you can be the winner of the $50 gift voucher that our amazing sponsor Simon Says Stamp offers. This prize will go to a random entry. So go over to the Simon Says Stamp Monday Challenge blog, and be inspired by the amazing projects my fellow DT members have made for you.

Thank you for stopping by! Love to see you next time!

Hugs,
Sandra

Monday, July 15, 2013

Green birthday tag

Hi everyone,

Yep, it's Monday once again and Simon Says Stamp and Show has a new challenge for you. A fun one, because this week it's all about Good to be Green. Whether you recycle, upcycle something or get messy with green ink or paint, everything is possible and everything is allowed as long as it's green.


I've done a bit of both. Personally, I generally use packaging for example from cereal boxes for die cutting. Obviously it's good for the environment to recycle, but it's also free. Last but not least I think it's great quality cardboard for die cutting, as long as you paint it of course. I have a big pile with cut up cereal boxes and other boxes ready to go when I need it.


This tag I made for the little boy of a friend of mine. His name is Tiemo. His name makes me think of time. So I used the mini Pocket Watch die with a Timepiece. For the background I did what I call the Metallic Marbled Stain Technique and used three colors of Distress Stains, Evergreen Bough, Shabby Shutters and Brushed Pewter. I think it's such a cool technique because every time it's different, but also because it's so magical how the metallic Distress Stain reacts with other mediums and with water. In this video Tim Holtz himself demonstrates the technique perfectly.


A cool property of the Metallic Stains is that everything you stamp with dye based inks seems to disappear into the background. The metallic comes right through it. You probably already guessed that Tiemo turned 3 with all the numbers 3 stamped in the back. He really is a little rascal, haha. The letters and pocket watch I cut out of packaging and painted it black with the Pitch Black Paint Dabber. To give the pocket watch some more volume I cut it out several times and glued it together. Of course I also glued some wooden stars down as I do in almost every project I make.


To join in all you need to do is make a project that fits this weeks challenge and you can be the winner of the $50 gift voucher that our amazing sponsor Simon Says Stamp offers. This prize will go to a random entry. So go over to the Stamp and Show Challenge blog, let the DT members inspire you and join in the fun!

Thank you for stopping by! Love to see you next time!

Hugs,
Sandra

Monday, July 8, 2013

A little bit of text stamping

Hi everyone,

Finally we have some nice weather here in the Netherlands and that makes me so very happy. Unfortunately I have to wait for about three weeks till my vacation starts. But it's also very nice to enjoy this beautiful weather even when I have to work. But enough about the weather, let's move on to the order of the day! The new challenge from Simon Says Stamp and Show, which is "a little stamping". This can be taken as loosely as you like. Do a little bit of stamping, or use little stamps. Whatever comes to mind.


I just did some little text stamping. Finally I had the courage to play with my Gelli Plate again. So glad I did that, because I had a blast. For me it was really a learning process, figuring out what works and what doesn't. My conclusion is that what works for me the best is, plain printing paper and Distress Paints.


Everything I tried worked and was beautiful, well that was so very exciting. Then the Gelli Plate is lots of fun to work with!
I have worked with the stunning Bert stencil from Dyan Reavley. The great thing of these stencils is that they also contain the negatieves. So you can make very cool effects.


The left side I've made the print after I took the print of the Bert's that are on the right page. The stencil contains lots of paint to take a print out of it too. After the paint dried I did some messing around with watered acrylic paint to make some paint splatters and used other stencils from Dyan for the black letters and numbers. Then I placed back the stencil and did some little text stamping inside the Bert's
Like I said the right side is the outcome of the first print made with 3 colors Distress Paint. You must be careful with this paint, because it's very liquid, but the property of these paints are that the will marbleize and not so much blend. Which is a very nice property to work with the Gelli Plate.


To join in all you need to do is make a project that fits this weeks challenge and you can be the winner of the $50 gift voucher that our amazing sponsor Simon Says Stamp offers. This prize will go to a random entry. So go over to the Stamp and Show Challenge blog, let the DT members inspire you and join in the fun!

Thank you for stopping by! Love to see you next time!

Hugs,
Sandra

Monday, July 1, 2013

Chunky Bachelorette Party Album

Hi everyone,

Oh my, does the time really go by that fast that a new month is here? Is it seriously July already?  Well I'm positive that's good thing, because Simon Says Stamp and Show has a nice new challenge for us. The sky is the limit, because this week is Anything Goes! Everything is possible! So join us!


My sweetfriend Ellen is about to get married in a few days. So I've made ​​this chunky album as a gift for her of her bachelorette party we had, 1,5 months ago. This way she can relive this great party over and over again. We all had so much fun, and I know she had a great time to.


The cover is made of 8x8 inch We R Memory Keepers chipboard. The perfect size for the Love You Madly paper what I used for the whole album. First I did some stamping and splatters on all the pages to give them more dimension. Next step was to embellish the cover. Ellen loves lots of color, and it to be very busy. That's a real challenge for me. So I used lots of embellishments in many different colors and I think it's right up her alley.


Here some pictures of the inside of the album. All the paper is the Glitz Love You Madly line. For the most part are the embellishments as well.


Everybody who was at the bachelorette party, was asked to write something for Ellen on a journal tag. These tages I put in little envelopes and pasted on a few pages.


To join in all you need to do is make a project that fits this weeks challenge and you can be the winner of the $50 gift voucher that our amazing sponsor Simon Says Stamp offers. This prize will go to a random entry. So go over to the Stamp and Show Challenge blog, let the DT members inspire you and join in the fun!

Thank you for stopping by! Love to see you next time!

Hugs,
Sandra