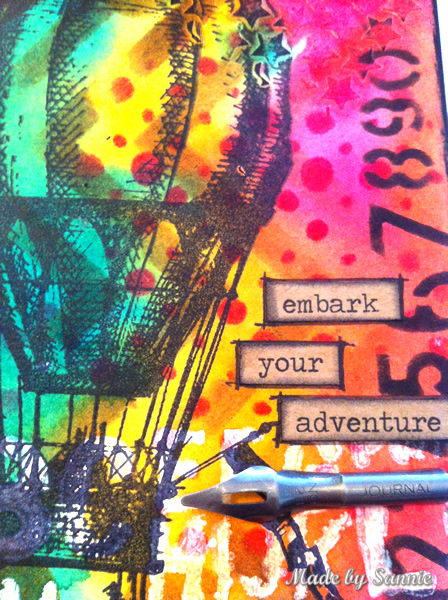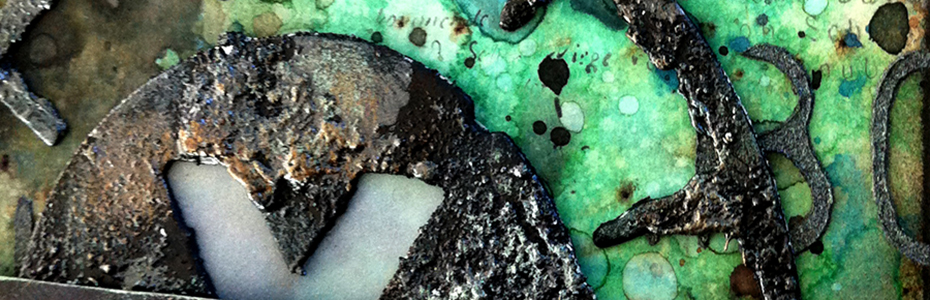
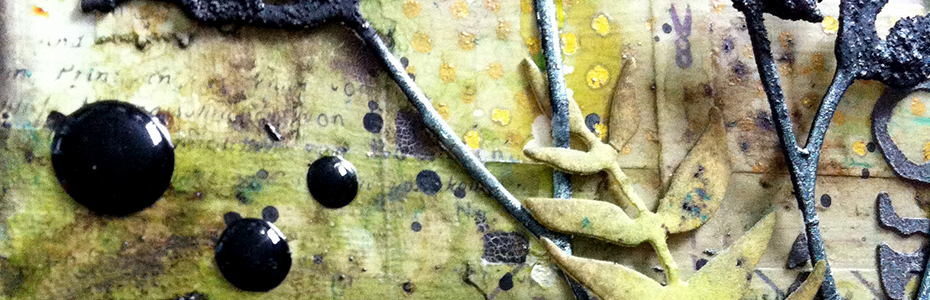
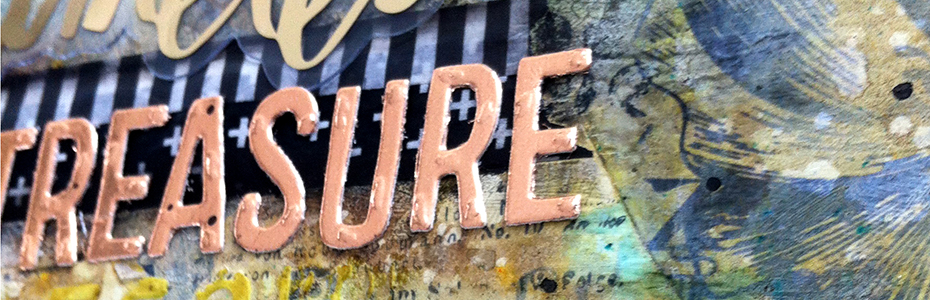

Grunge it up card

Click on the image and see how this was made. There is a video tutorial of the process.

In My Garden card

Click on the image and see how this was made. There is a video tutorial of the process.

Timeless Treasure art journal spread

Click on the image and see how this was made. There is a video tutorial of the process.

Father's day card

Click on the image and see how this was made. There is a video tutorial of the process.

Distress it card

Click on the image and see how this was made. There is a video tutorial of the process.

Monday, October 7, 2013

CC102 - Day 1

Hi everyone,


Ohh it's time! Tim Holtz is back with a brand new online workshop. Which is the follow up on his last one and it's called Creative Chemistry 102. When I heard the news, I enrolled immediately! Couldn't wait until I got to the classroom to see what was in store for us and what techniques we were about to learn. Around 3 o'clock this afternoon the classroom was (finally) open and we were allowed to enter. Wow, he had 6 techniques for us! I chose to make only 3 of them. The other 3 I'll do when I have a little bit more time.

For a bit closer look...
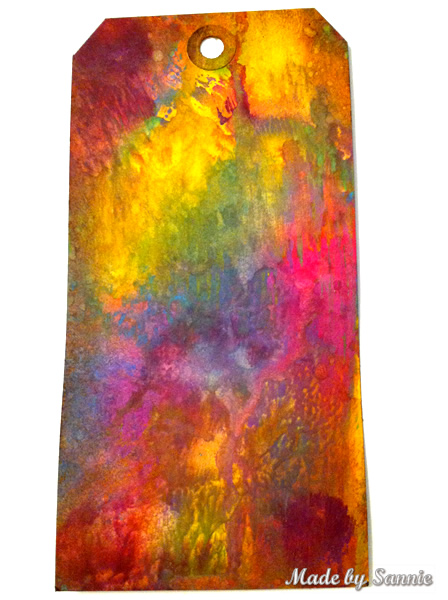
 
Marbling Technique
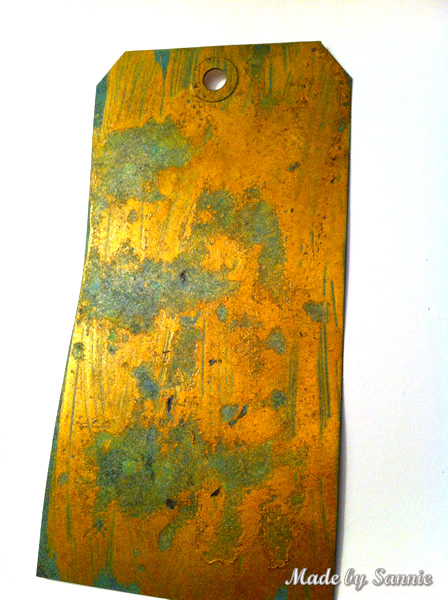
 
Eroded Metallic Technique
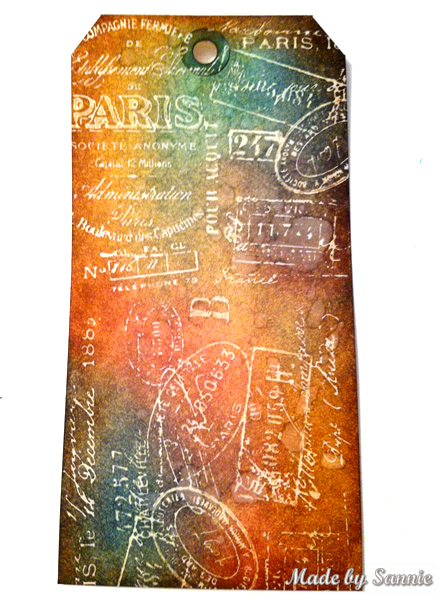
Stamping Resist Technique

Supplies


Can't wait for class tomorrow!
Thank you for stopping by! See you tomorrow for day 2!

Hugs,
Sandra

Tammy Inspired: Distress Paint Linen Texture

Hi everyone,

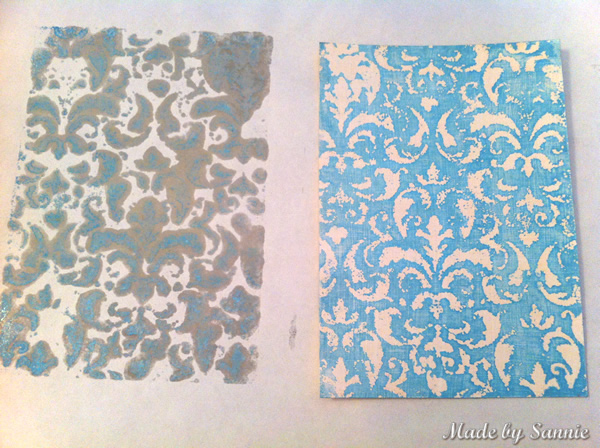
It's time for a new Simon Says Stamp Monday Challenge. This week it's all about the super talented Tammy Tutterow! She is amazing and makes the most beautiful things. I especially love her Technique Tuesdays. So much inspiration and so many techniques that she knows how to conjure. When I visited her blog for inspiration for this week's project, I just didn't know which one to choose. Afters wandering around for a while I made my decisiond and chose the Distress Paint Linen Texture technique. The tag she made with is really amazing!


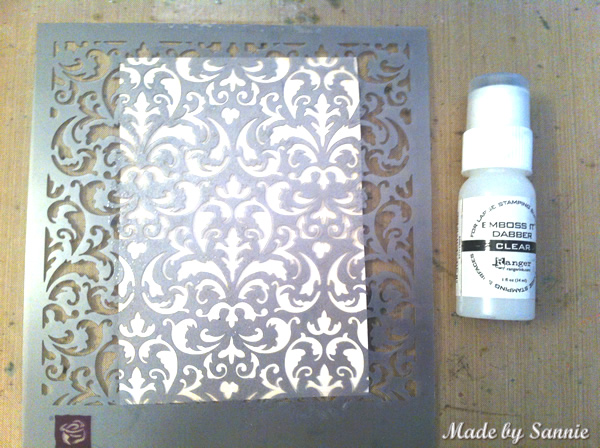
In the tutorial, Tammy uses a large background stamp with lots of solid spaces. I wanted to try the technique with the Prima Marketing Flourish stencil and Clear Emboss it Dabber. That stuff smells so great! This actually wants me to use it more often! Because it's very sticky and kind of a glue, it's wise to rinse off quickly with some soap and water. But first apply the Clear Embossing powder and heat with the Heat It tool. The rest of the instructions of this technique can be found on Tammy's blog here. I think it's so cool when you start ironing and the clear embossing comes off. It's kind of magic...
 

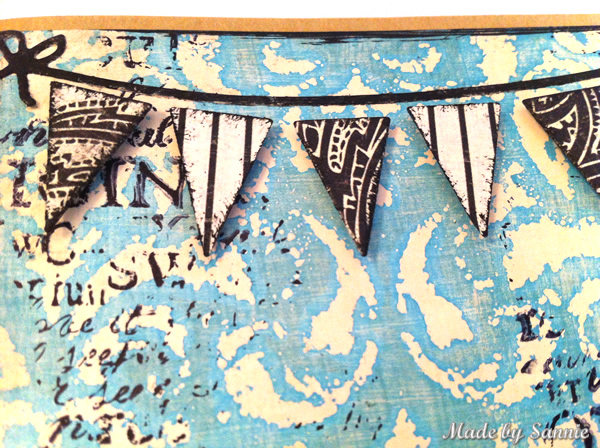
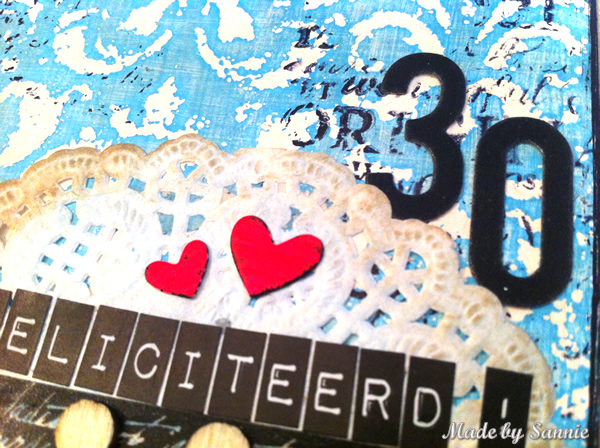
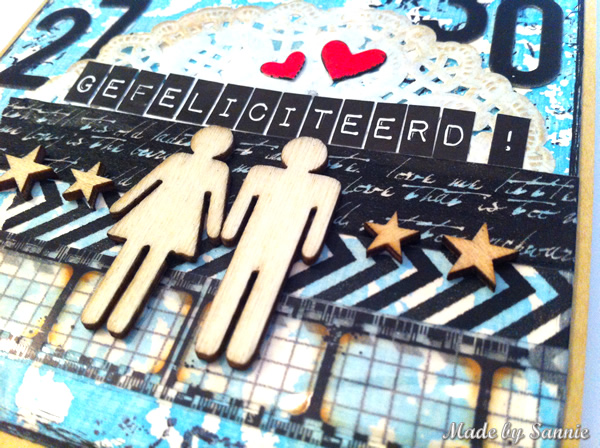
The theme of this card is the birthday of friends of mine, a couple. They celebrated their birthday together and I thought it would be fun to let that come back in the card. The Banner is an exclusive die of Simon Says Stamp along with the Simple Numbers and Mini Hearts. The banner is cut out from the My Mind's Eye Meadow paperpad. The edges I've distressed with the Pitch Black Paint Dabber.


It's probably no secret I'm crazy about the wooden Potty People and Stars. And of course the washi tape is also along for the ride. Actually I never really was a fan of letter stickers, but since the Label Letters from Tim Holtz I'm completely turned.  Fortunately there are 6 sheets with letters, but I do use very often the same letters...


50dollar_voucher_600px
To join in all you need to do is make a project that fits this weeks challenge and you can be the winner of the $50 gift voucher that our amazing sponsor Simon Says Stamp offers. This prize will go to a random entry. So go over to the Stamp and Show Monday Challenge blog, let the DT members inspire you and join in the fun!

Thank you for stopping by! Love to see you next time!

Hugs,
Sandra
Monday, September 30, 2013

Saying it with stamps

Hi everyone,

What a week it has been with the bloghop. Thanks for all your visits and your sweet comments. So much fun to read. This week we have a new challenge over at Simon Says Stamp Monday Challenge, it's "Say it With Stamps". Whether you use a readymade sentiment stamp, or have fun with alphabet letters, it doesn't matter. As long as there is a stamped text on your project, you're got to go!


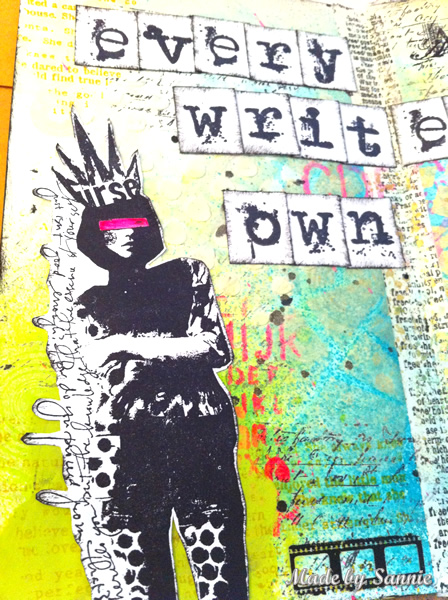
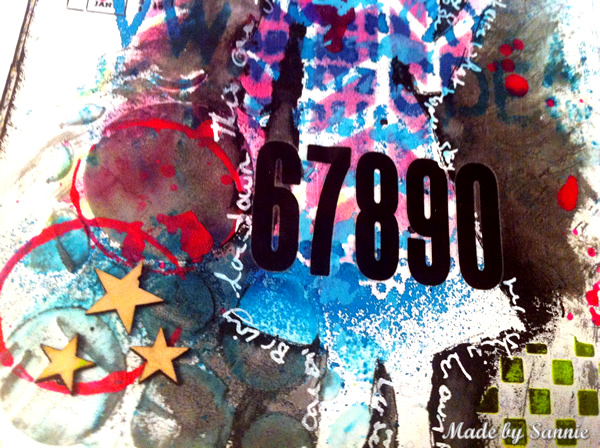
I'm so happy with my new Dyan Reavely Creative Journal, so I've decide to make some more pages in it. When I saw the quote from Havelock Ellis on the internet, I thought it was perfect to use in my art journal.
 

The frist thing I do is to cover the spine up with a piece of washi tape so that nothing leaks through. This time I used the Dictionary tape from Bazzill. Because I'm going tp play with sprays I don't gesso the pages. This paper can have a lot of ink without seeping though. With Antique Linen Distress Paint and the circles of the Grunge Cirque stamp I made my first layer. The paint will work as a resist for non permanent ink and sprays. Speaking of sprays, that's my next step. I've use two bright colors, Vibrant Turquiose and Fresh Lime Dylusion Spray. Personally I the splashes and splatters very beautiful. If you like it to blend more, you first mist the pages with a little bit of water.


To bring some texture to the pages, I've played with the Halftone Stencil and some Modeling Paste. Stencils are really my favorite tool to build up layers. So made another with the Letter Jumble Stencil and Neon Pink Dauber.


The letters are Kaiser Craft Grunge Alphabet stamps. These stamps are quite big. Perfect size to make a quote with in my art journal.
50dollar_voucher_600px
To join in all you need to do is make a project that fits this weeks challenge and you can be the winner of the $50 gift voucher that our amazing sponsor Simon Says Stamp offers. This prize will go to a random entry. So go over to the Stamp and Show Monday Challenge blog, let the DT members inspire you and join in the fun!

Thank you for stopping by! Love to see you next time!

Hugs,
Sandra
Sunday, September 29, 2013

12 tags of 2013 - September

Hi everyone,

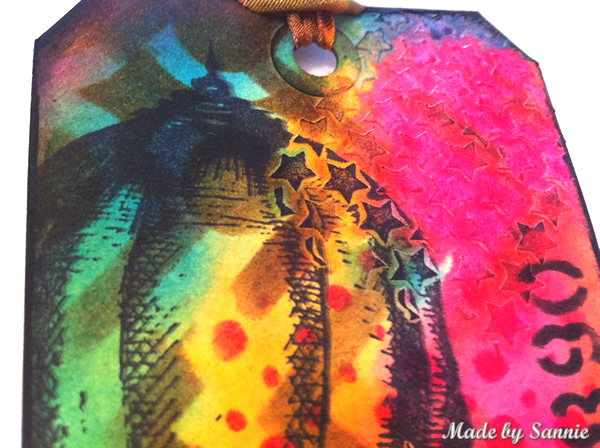
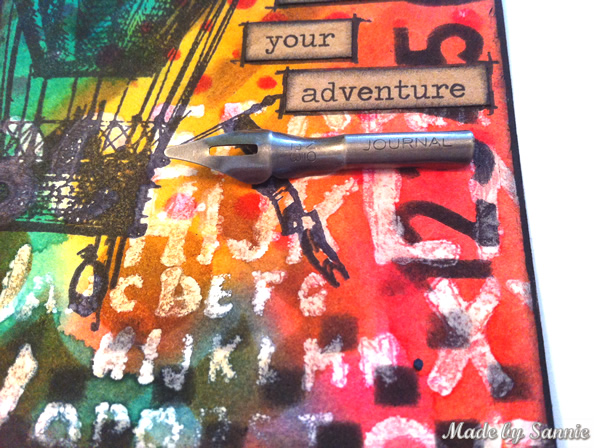
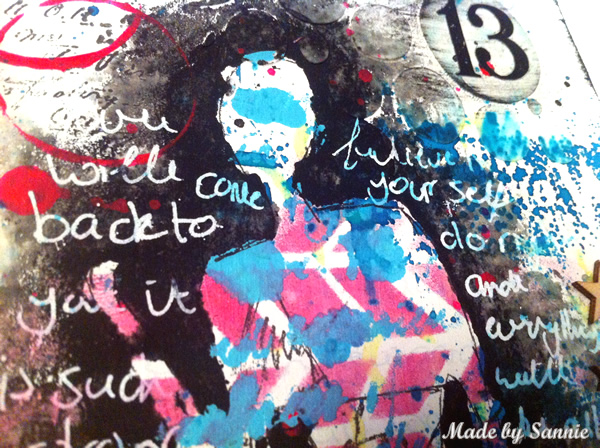
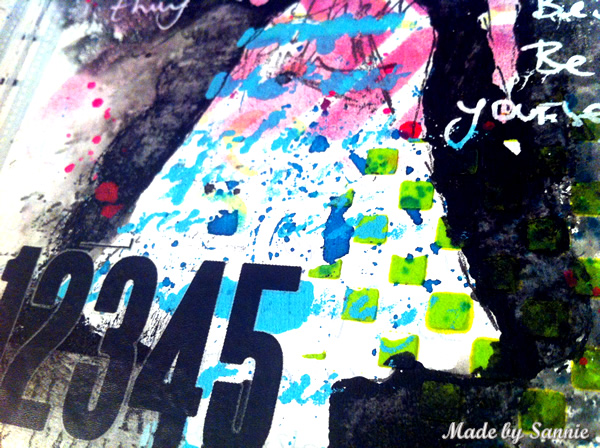
Don't know what it is, but the last few months I can only find the time for the 12 tags of 2013 at the end of the month. Busy busy busy. But that doesn't mean it's less fun to do of course. Tim has made another beautiful tag ​​with his new stencils. Unfortunately I haven't got those (yet). But I have a lot of other stencils, so I could manage.

 
I'm so glad that Tim uses bright colors more often in his tags, which makes me to use them too. I often use one bright accent color in my projects, but to make such a variegated color fest myself, isn't something that I would do very quickly, while the result is really beautiful.


Like most of the time I've used as much of the same products that Tim used. If I didn't have it, I chose something similar. I'm a fan of building many layers build with ink and/or paint. It doesn't always have to be bulky.


Thank you for stopping by! Love to see you next time!

Hugs,
Sandra
Monday, September 23, 2013

Blog hop kit

Hi everyone,

This week is the week of the big annual bloghop over at Simon Says Stamp Challenge Monday! Ohh I'm totally excited! It's always such a happening. If you've arrived on my blog and you're not got here from Meisha's blog, please go back to the beginning of the bloghop by clicking here and then I'll meet you right back here when you've visited the others.

The challenge for this week is to use ANY Exclusive Simon Says Stamp product. It doesn't have to be a stamp. They have such great exclusive products. Like in the amazing Art Journaling Kit where everyone from the design team has made their project with, are very nice exclusives. It's designed by Shari Carroll, and she is joining us with this blog hop! She has designed the beautiful Blocked Circles stencil that is in the kit.

Included in the Simon Says Stamp Art Journaling Kit


It was so excited to get work with this fabulous kit! The background I made ​​by first adhering the dictionary page down with the Multi Medium Matte. To put it a bit more into the background I applied a thin layer of Gesso. From here I started building the layers. I'm really in love with the Blocked Circles Stencil. I used it with Modeling Paste and have it colored with Studio Classic Teal Paint.


The big flower I sprayed with Dylusion Squeezed Orange and Gold Lame Color Shine and highlighed it with Altered Orange Paint and the small flower with Tropicana Teal Color Shine and Classic Teal Paint. The sentiment is a quote from the book Alice in Wonderland. The Kelly Purkey Alphabet Stickers I left white, but so they would not disappear into the background I adhered them on the Black Polka Dot Washi Tape.


There were also two IndigoBlu stamps in the kit (PLEASE NOTE: these are only in the kit if you buy it in September). Simon Says Stamp will carry these stamps very soon. In my kit was the White Rabbit from Alice II and a flower Blooming Great from the stamp set. Because of the White Rabbit stamp I was inspired by Alice in Wonderland a bit. The rabbit I stamped on the Manila ATC that's included in the kit and colored with Distress Markers.


Supplies

Simon Says Stamp STAMPtember®
Simon Says Stamp was founded in 2002 with an interest in exclusively selling rubber stamps. It didn’t take long until we realized we couldn’t stop there. During the past 11 years we celebrate rubber stamping in its full glory by giving access to people around the world to a one stop shop. Rubber stamps still remain the heart of our business and we are celebrating by hosting a STAMPtember® event intended to inspire, educate, and celebrate the greatness of rubber stamping. Part of the enticement of rubber stamping is that stamps can be used in creating or complementing ANYTHING! From stamping dates on bank documents and postage parcels in the early 18th century, rubber stamping has dramatically expanded to include card making, scrapbooking, mixed media, life documenting, art journaling, and many forms of altering and expressing art.

Get Hopping!
Your next stop on the blog hop is the amazing Andrea Ockey Parr.50dollar_voucher_600px
To join in all you need to do is make a project that fits this weeks challenge and you can be the winner of the $50 gift voucher that our amazing sponsor Simon Says Stamp offers. This prize will go to a random entry. So go over to the Stamp and Show Monday Challenge blog, let the DT members inspire you and join in the fun!

Thank you for stopping by! Love to see you next time!

Hugs,
Sandra

Monday, September 16, 2013

London Calling

Hi everyone,

Stamptember continues over at Simon Says Stamp Blog! Lots of fun things going on this month, so be sure to check it out!
This week it's also stamping what stands central at Simon Says Stamp Monday Challenge. We challenge you to experiment on other surfaces other than paper or cardstock. Such as on wood, glass, plastic, fabric or metal. I'm so very curious what beautiful things you're coming up with this week.

I chose to stamp on fabric. When I first started paper crafts, I had no idea that was possible. Once I saw it somewhere I need to try it, but it didn't bring me the desired result, gave up and forgot about it. But a while back I made a bag because my old one was all worn, I made a flap for my trip to Paris and tried stamping on natural canvas. And I loved the result, see it here. That's when a new tradition was born to make a new flap for my bag for each city trip I make.


The trick to get good stamp prints is that the ink pad is well saturated with ink and more importantly, to use waterproof ink such as Archival Ink Jet Black. So I always reink my ink pad with the Reinker before stamping on fabric. Apply a good amount of ink to the stamp, make sure that it's juicy and really shining in the light, and with a lot of pressure place on the fabric. Remove the stamp carefully and you should have a good clean print.


For this bag I wanted something that was more like a layout and  wanted it in black and white. I do like my bags a bit neutral. So they fit in my clothes. I started with the centerpiece, the British flag stamp from Tim Holtz. It's no secret that I love washi tape, so I stamped the Crinkle Ribbon with some different prints so it looks like it's washi tape. I have got those beautiful stamp set of London with the Big Ben and a Guard, so I used those as my applications. To create more dimension for the background and so it would look a bit more like a layout, I played with my favorite stamps Script and Distressed Textures.


50dollar_voucher_600px
To join in all you need to do is make a project that fits this weeks challenge and you can be the winner of the $50 gift voucher that our amazing sponsor Simon Says Stamp offers. This prize will go to a random entry. So go over to the Stamp and Show Monday Challenge blog, let the DT members inspire you and join in the fun!

Thank you for stopping by! Love to see you next time!

Hugs,
Sandra

Monday, September 9, 2013

Journaling in my art journal

Hi everyone,

Stamptember continues over at Simon Says Stamp Blog! Lots of fun things going on this month, so be sure to check it out!

It's time for a new Simon Says Stamp Monday Challenge, and this week the challenge is to emboss. There are many ways to emboss. Think of embossing powder, but also embossing folders, or UTEE to cover something with a clear layer completely. Anything is possible, as long as something gets embossed. Like to see what you come up with!


A while back I was at my dear blog friend Patricia's house and we both worked in our art journal. We let us be inspired by Dina Wakeley's style for our pages, but made it our own. Patricia had the great idea to write down my inner thoughts and go over it with gesso. So I still have my written words but made something beautiful ​​over it. I know what I have written and I alone. This is also the first time that I have left lots of white space on my pages. This makes the colors stand out more. Another first is that I journaled a little bit. I've always been a little hesitant to journal, but it's really fun to do and these pages were perfect for some journaling. I'm definitely going to journal more in the future.


After I've gessoed over my written text, I used the Embossing Paste with serveral templates like Sunset Sunrise, Letter Jumble, Chunky, Chequered Dots and Paint Lids. I like to color the paste with paint, this way I can make it every color I want. Besides stamps are templates/stencils really my favorite tools to create layers. Whether you're working with ink, paint or embossing paste works, all is possible! Love it! I used the stunning Rub-ons from Tim Holtz for a bit of contrast.


50dollar_voucher_600px
To join in all you need to do is make a project that fits this weeks challenge and you can be the winner of the $50 gift voucher that our amazing sponsor Simon Says Stamp offers. This prize will go to a random entry. So go over to the Stamp and Show Monday Challenge blog, let the DT members inspire you and join in the fun!

Thank you for stopping by! Love to see you next time!

Hugs,
Sandra