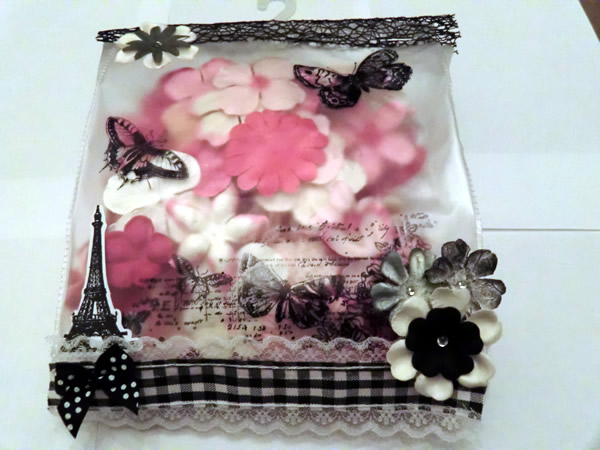
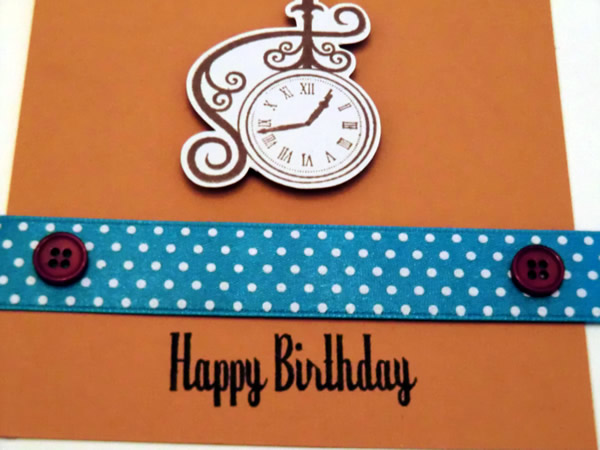
Grunge it up card

Click on the image and see how this was made. There is a video tutorial of the process.

In My Garden card

Click on the image and see how this was made. There is a video tutorial of the process.

Timeless Treasure art journal spread

Click on the image and see how this was made. There is a video tutorial of the process.

Father's day card

Click on the image and see how this was made. There is a video tutorial of the process.

Distress it card

Click on the image and see how this was made. There is a video tutorial of the process.

Saturday, November 12, 2011

Holiday Card Boot Camp 2011 day 2

Hi everyone,

Because of the link tool from the online class I have to post every day seperatly. Else I can't link it... Sorry about that!

 Day 2:


The materials:
  • Embossing powder: clear
  • Distress Ink: tumbled glass, festive berries
  • Perfect pearls mists: perfect pearl
  • Bias tape
  • stamp: snowflakes
Thanks for stopping by!
Sandra

Holiday Card Boot Camp 2011 day 1

Hi everyone,

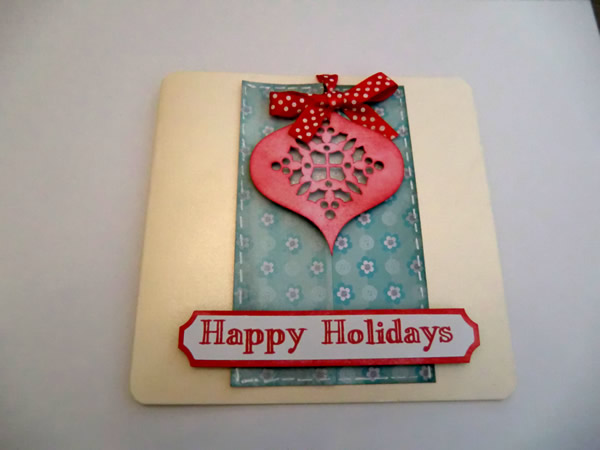
This week, I signed up for holiday card bootcamp 2011. This is the first time I follow an online class and I found it very exciting. I hesitated for a few minutes before signing up, because there was an entire supply list that I could not easily get and what was going to cost a lot of money. Luckily I found out that it is not intended to duplicate everything exactly (which may of course) but it's more about the inspiration, and if you want to buy something that was used in class, you can but it's not needed.
I heard about it on day one of the bootcamp, so I could start right away.
I like the classes a lot, but I don't have any inspiration. Despite missing my mojo, I did make a few cards. Through this boot camp I will have all different cards that I can send to my family and friends. Hopefully my inspiration comes back very soon.

Unfortunately I can not show the examples of the classes, where my cards are based on. So you have to do with just my cards.
Day 1:


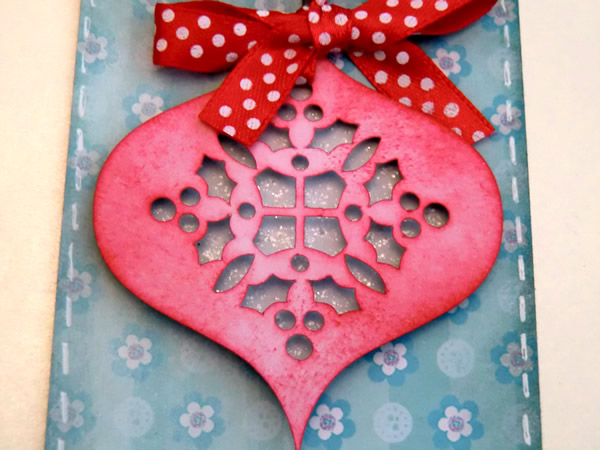
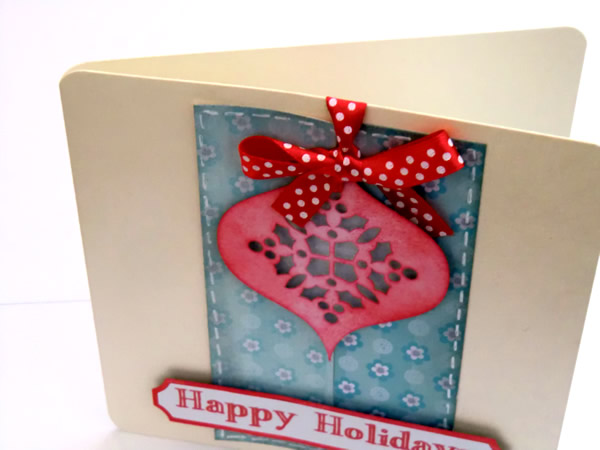
The materials:
  • Pearl Card
  • Svg file for the Christmas ornament
  • Distress stickels Picket Fence
  • Distress stains Picket Fence
  • Distress ink festive berries
  • White opaque pen
  • Ribbon

More is on the way.
Thanks for stopping by!!

Sandra

Wednesday, November 9, 2011

Simon says recycle

Hi everyone,

Since last monday when the challenge of Simon Says Stamp was announced, I've been thinking non-stop of what I wanted to do. I just couldn't think of anything. I decided that today was the day for this challenge, because all that thinking was driving me a bit crazy! Hmm, that's not the intention, I guess. So I searched through all kinds of packaging I had laying around, but still I didn't had any inspiration. Eventually I found a pack of baby bibs. I've always blank baby stuff in the house, so I can make a nice baby package, with the name of the baby on it. Finally I had inspiration! So I could get started!

And this is the result:


The materials:
 - StazOn Jet Black
 - Stamps: kaiser craft and excellent marketing
 - ribbon
 - Flowers: Prima Marketing
 - Rhinestones

I think StazOn is a very great waterproof ink. Especially for this mat plastic. I noticed that glossy accents couldn't handle this kind of plastic...

Sandra

Sunday, November 6, 2011

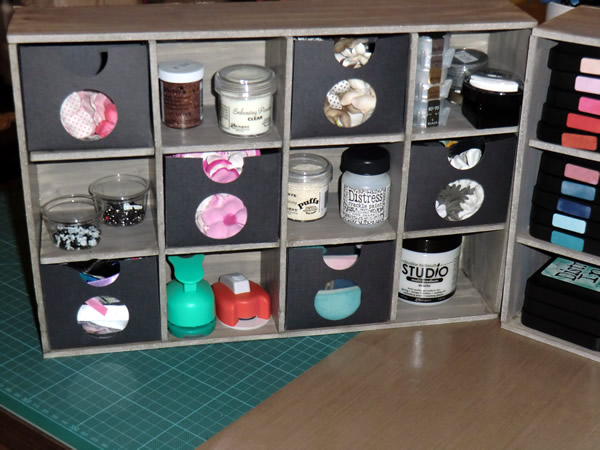
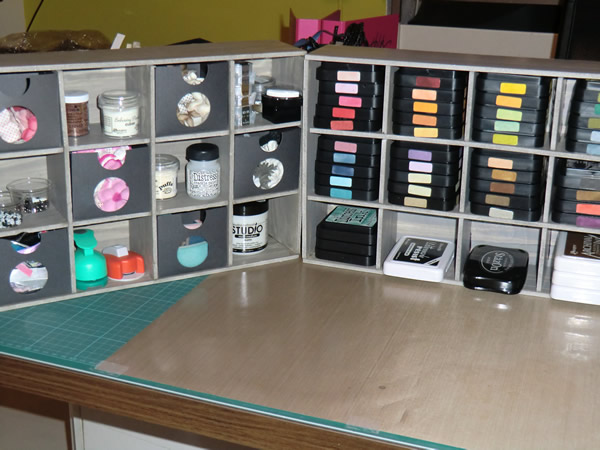
Foam board cabinets

Hi everyone!

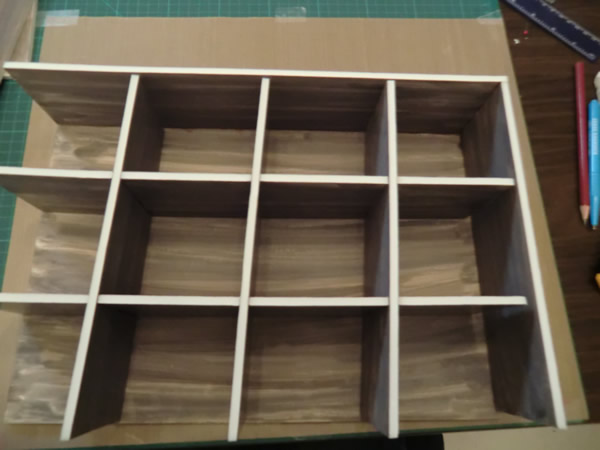
Some time ago I visit the site paper-castle.com  and I saw a lot of great tutorials. Then I saw a really cool foam board cabinet. I didn't realize that Heather made the cabinet herself, I thought the post was about the drawers... duhhh. But a few days later she posted the tutorial for it. And I immediately went to work. But unfortunately I'm always fighting with my glue gun. It leaks like crazy, and the glue dries too quickly before I have put things together. Such a drama. Eventually it looked alright, but it was certainly not perfect. After some tips from Heather, I gave it another go. This one is a bit more successful then the first one, but I still fought with my glue gun!
Here is a short description of the project. With emphasis on short, because the extensive tutorial can be found on the website of paper-castle.com!

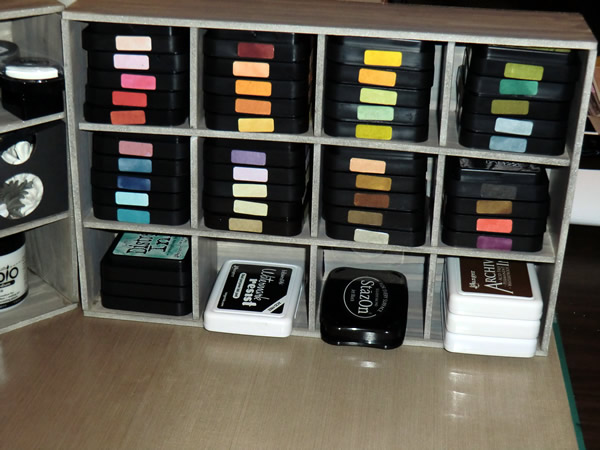
I wanted to have a cabinet for my distress inkpads (DI). In the past I made a box for my DI, but back then I had only 12. And since I've bought all the distress inks including the limited edition (s), now is the moment to make something for storage. And I chose this fabulous foam board cabinet.

First I determined the size of the compartments. I used Adobe Illustrator to process these sizes and  taken into account the thickness of the foam board. In scale, I made all the parts and fortunately they all fit on a 50 x 70 cm piece of foam board. Then I determined the indentations. I used Illustrator for this part as well. I'm not a mathematician;).
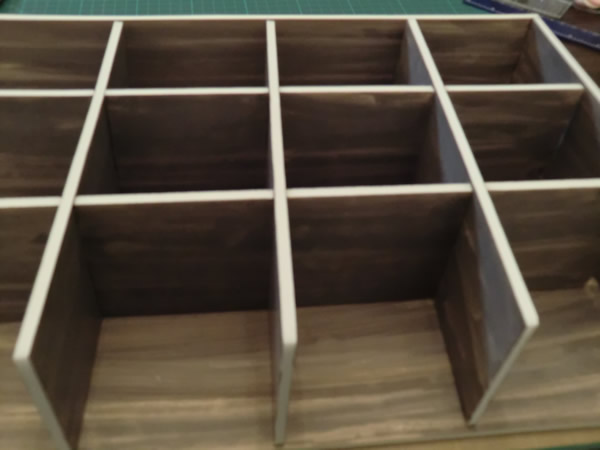
Then I cut everything out. I think I have an other type of foam board then Heather, because I easily cut through it in one single cut. The blade does go dull after a little while. After everything was cut out, it was time for a bit of color. Here the distress stains walnut stain came in handy. For backgrounds the stains are incredible. I did also the edges with stains, but they stay wet for a very long time. Probably because foam isn't porous. I did it also on the second cabinet, because it looks so nice. I have to be carefull with handeling it for a while.


Then it was time to assemble it. I took my best friend (not!!) the glue gun,  and I managed to glue the edges together in time before the glue was dry, but that didn't work with the backside of the cabinet :(.I do have a very cheap glue gun, so that maybe has something to do with it. Luckily I also put multi medium on the edges of the dividers.


Now that I have two cabinets, I decided to use one for embellishments. I made drawers with a peephole in it. I kept them very simple. Maybe in the future I'll pimp them up.

Thanks for stopping by.

Sandra

Saturday, November 5, 2011

Masculine card

Hi everyone,

It's been a very hectic week, but now I've finally got time to make a card. This time I entering three challenges.

Occ: masculine card

ColorQ: colors


Freshly made sketches: sketch


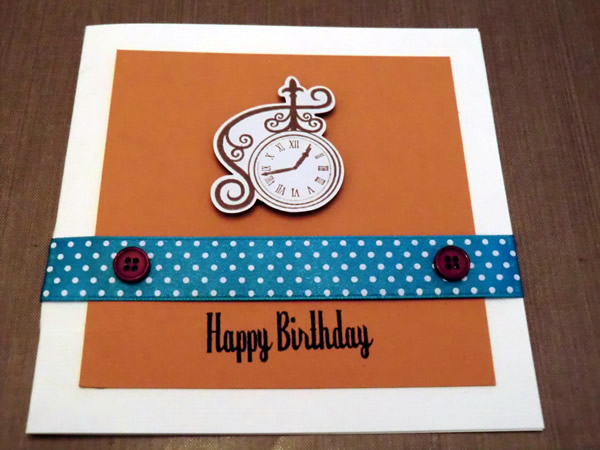
I find making a masculine card pretty difficult, but by combining the other challenges I believe I managed it. Maybe it could have been a little tougher. But I'm happy with the outcome:


 The materials I used:

 - Archival inks: coffee, black jet
 - ribbon
 - buttons
 - stamps
 - Cardstock

Thanks for stopping by!
Sandra

Thursday, November 3, 2011

Sweet Vintage Home card

Hi everyone,

Today I made a card for Simon Says Stamp and Show challenge. The challenge this week is to make a house. I started with my first attempt last monday, because I wanted to do one more halloween themed project. But I couldn't finished it in time, so I'll save that project for next year. So I had to come up with something else for this house challenge.
I had no inspiration yet again, therefor I went looking for a nice little house on the MTC (Make the Cut) gallery. Soon I found a cute little house, but I wanted different windows and a door. So I opened MTC at started working on the house to adjust it to my liking.

This is the result:


Tip: If you use vinyl and perfect pearls Mists, apply the vinyl first and then the perfect pearls mists. Else the perfect pearls come off with the transfer tape.
 Materials I used for this house card:
  • Design paper (Grace Taylor, vintage collection)
  • Distress Ink: spun sugar, vintage photo, worn lipstick
  • Distress stains: Wallnut stain
  • Cabochons (hotfix)
  • Flowers (E line, prima marketing
  • Perfect pearls mists: perfect pearl
  • Vinyl

Thanks for stopping by!
Sandra

Wednesday, November 2, 2011

Haul from Kreadoe

Hi everyone,

Finally it's time for the Kreadoe fair in Utrecht (Holland)! I've been looking forward to this for months. Today, I did'nt put myself on a budget and I'm going to buy what I want! We had got a bonus at work last month, so I'm spending that today :). I had a wish list ready, but I could not find it this morning! I felt a slight panic rising. Isearched my whole house several times, but it was nowhere in sight. Lein was already waiting for me and I had abandoned hope. I had put the wishlist and the tickets for the Kreadoe together, so I quickly printed new tickets. Lein and I were just on our way when I suddenly remembered where I had left them. So we turned around to pick them up. I felt much better and the Kreadoe day could finally begin.
It was very busy and there weer plenty beautiful things. I decided to start straight away with my shopping spree. At the first stand we saw that they had the new limited edition distress WINTER 2011!! We immediately bought those, of course. We are not crazy to pass up that opportunity!! At this booth Lein and I bought quite a lot. The was only the beginning. We've seen so many things and bought way to much and we really enjoyed ourselves. We stayed until the end and we were broken by that time. I wanted to post this message and share my purchases before I crawl into my bed .

Here is the damage of my shopping spree:
Tim Holtz and Ranger products:


Other products:


Everthing:


Sandra