Some time ago I visit the site paper-castle.com and I saw a lot of great tutorials. Then I saw a really cool foam board cabinet. I didn't realize that Heather made the cabinet herself, I thought the post was about the drawers... duhhh. But a few days later she posted the tutorial for it. And I immediately went to work. But unfortunately I'm always fighting with my glue gun. It leaks like crazy, and the glue dries too quickly before I have put things together. Such a drama. Eventually it looked alright, but it was certainly not perfect. After some tips from Heather, I gave it another go. This one is a bit more successful then the first one, but I still fought with my glue gun!
Here is a short description of the project. With emphasis on short, because the extensive tutorial can be found on the website of paper-castle.com!
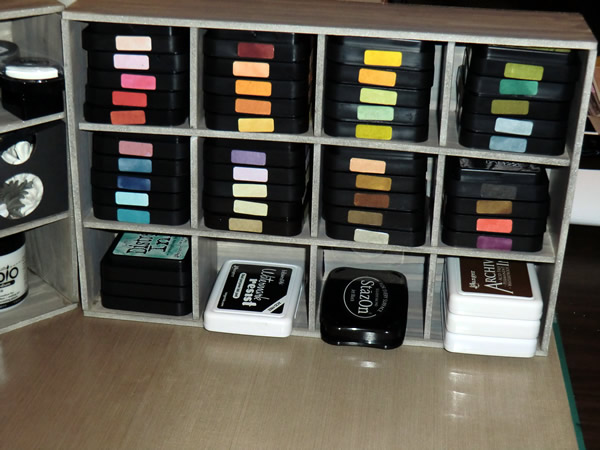
I wanted to have a cabinet for my distress inkpads (DI). In the past I made a box for my DI, but back then I had only 12. And since I've bought all the distress inks including the limited edition (s), now is the moment to make something for storage. And I chose this fabulous foam board cabinet.
First I determined the size of the compartments. I used Adobe Illustrator to process these sizes and taken into account the thickness of the foam board. In scale, I made all the parts and fortunately they all fit on a 50 x 70 cm piece of foam board. Then I determined the indentations. I used Illustrator for this part as well. I'm not a mathematician;).
Then I cut everything out. I think I have an other type of foam board then Heather, because I easily cut through it in one single cut. The blade does go dull after a little while. After everything was cut out, it was time for a bit of color. Here the distress stains walnut stain came in handy. For backgrounds the stains are incredible. I did also the edges with stains, but they stay wet for a very long time. Probably because foam isn't porous. I did it also on the second cabinet, because it looks so nice. I have to be carefull with handeling it for a while.
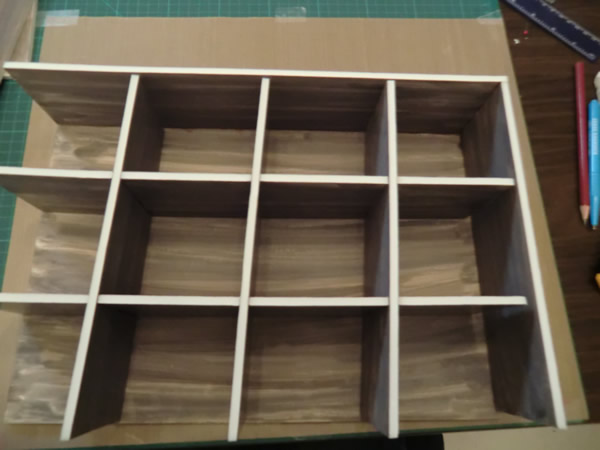
Then it was time to assemble it. I took my best friend (not!!) the glue gun, and I managed to glue the edges together in time before the glue was dry, but that didn't work with the backside of the cabinet :(.I do have a very cheap glue gun, so that maybe has something to do with it. Luckily I also put multi medium on the edges of the dividers.
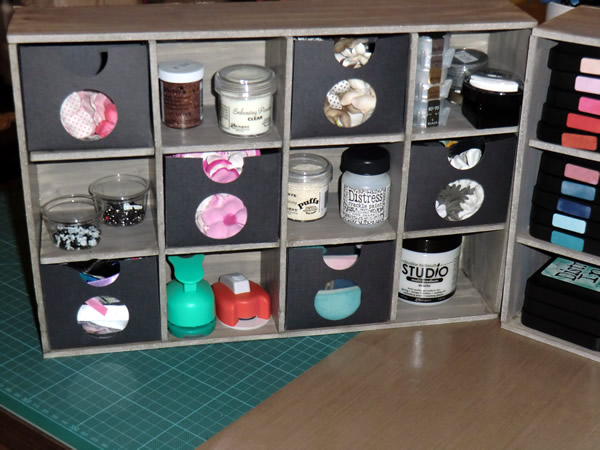
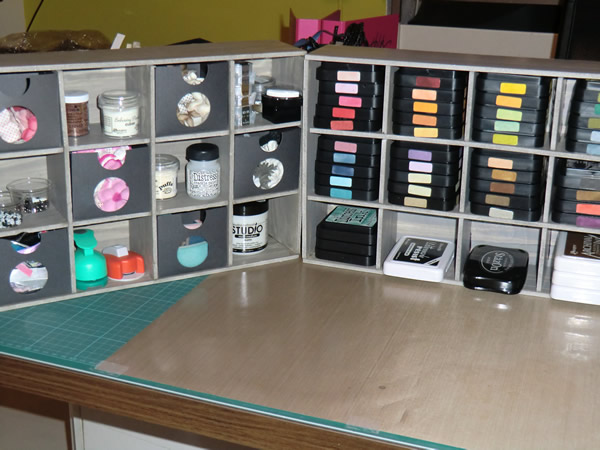
Now that I have two cabinets, I decided to use one for embellishments. I made drawers with a peephole in it. I kept them very simple. Maybe in the future I'll pimp them up.
Thanks for stopping by.
Sandra


4 comments:
How wonderful is this!! Well done Sannie!!
Like it, love it!!
Nog even een vraagje, wat is dat voor inkt die hetzelfde effect als multi medium heeft
Love, Leintje*
Whoa!!! This is totally awesome!!! You really rawked it. I especially like how you changed it up and made it your own. You are vewy vewy smaht! LOL High five girl!
Could you explain a bit more about this? Paper-castle.com is no more, and web.archive.org only has this: https://web.archive.org/web/20120509215915/http://www.paper-castle.com/?p=1041#more-1041
Do you happen to have her tutorial with pics saved? The site is gone:(
Post a Comment